Dell Vostro 3300 Kurulum ve Teknik Özellikler Kılavuzu - Sayfa 34

Dizüstü Bilgisayar Dell Vostro 3300 için çevrimiçi göz atın veya pdf Kurulum ve Teknik Özellikler Kılavuzu indirin. Dell Vostro 3300 35 sayfaları. Wireless printer adapter
Ayrıca Dell Vostro 3300 için: Kurulum ve Özellik Bilgileri (12 sayfalar), Uyarı (45 sayfalar), Teknik El Kitabı (30 sayfalar), Kurulum ve Teknik Özellikler Kılavuzu (35 sayfalar), Kurulum ve Teknik Özellikler Kılavuzu (37 sayfalar), Kurulum ve Teknik Özellikler Kılavuzu (36 sayfalar), Kurulum ve Teknik Özellikler Kılavuzu (37 sayfalar), Kurulum ve Teknik Özellikler Kılavuzu (37 sayfalar), Kurulum ve Teknik Özellikler Kılavuzu (37 sayfalar), Kurulum ve Teknik Özellikler Kılavuzu (37 sayfalar), Kurulum ve Teknik Özellikler Kılavuzu (37 sayfalar)
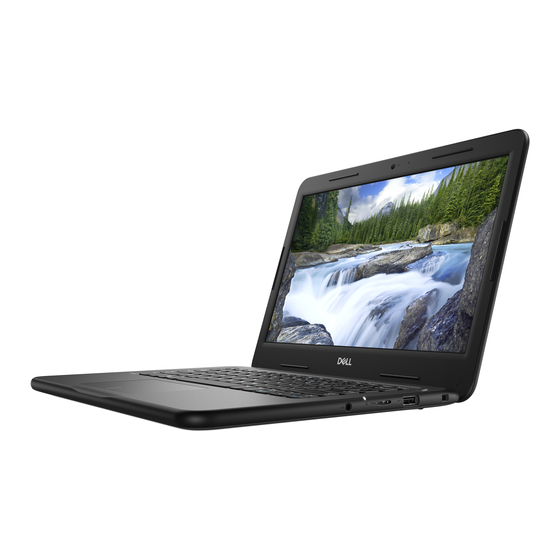
Dell Vostro 3300 Kurulum ve Teknik Özellikler Kılavuzu

Operating system

Table 38. Operating system
Operating system
Operating systems supported

Create a USB recovery drive for Windows

Create a recovery drive to troubleshoot and fix problems that may occur with Windows. An empty USB flash drive with a minimum
capacity of 16 GB is required to create the recovery drive.
NOTE:
This process may take up to an hour to complete.
NOTE:
The following steps may vary depending on the version of Windows installed. Refer to the
for latest instructions.
1. Connect the USB flash drive to your computer.
2. In Windows search, type Recovery.
3. In the search results, click Create a recovery drive.
The User Account Control window is displayed.
4. Click Yes to continue.
The Recovery Drive window is displayed.
5. Select Back up system files to the recovery drive and click Next.
6. Select the USB flash drive and click Next.
A message appears, indicating that all data in the USB flash drive will be deleted.
7. Click Create.
8. Click Finish.
For more information about reinstalling Windows using the USB recovery drive, see the Troubleshooting section of your product's
Service Manual at www.dell.com/support/manuals.

Downloading drivers

1. Turn on the notebook.
2. Go to Dell.com/support.
3. Click Product Support, enter the Service Tag of your notebook, and then click Submit.
NOTE:
If you do not have the Service Tag, use the auto detect feature or manually browse for your notebook model.
4. Click Drivers and Downloads.
5. Select the operating system installed on your notebook.
6. Scroll down the page and select the driver to install.
7. Click Download File to download the driver for your notebook.
8. After the download is complete, navigate to the folder where you saved the driver file.
9. Double-click the driver file icon and follow the instructions on the screen.
34

Software and Troubleshooting

Software and Troubleshooting
Windows 10 Home (64 bit)
Windows 10 Professional (64 bit)
Windows 10 Professional S mode
Windows 10 Professional Embedded (OEM customers only)
Ubuntu 16.04 LTS (64 bit)
6
Microsoft support site