DH Lifelabs AQUASOLVO AAHE-50WC04C Kullanım Kılavuzu - Sayfa 4
Taşınabilir Jeneratör DH Lifelabs AQUASOLVO AAHE-50WC04C için çevrimiçi göz atın veya pdf Kullanım Kılavuzu indirin. DH Lifelabs AQUASOLVO AAHE-50WC04C 10 sayfaları. Eco ambient air sterilizer wifi-enabled
Ayrıca DH Lifelabs AQUASOLVO AAHE-50WC04C için: Hızlı Başlangıç Kılavuzu (6 sayfalar), Hızlı Başlangıç Kılavuzu (4 sayfalar)
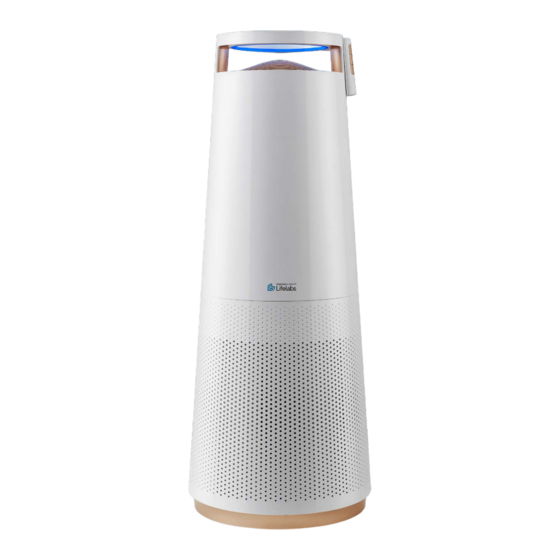
Product Overview
1
1. Main Body
2. 3-Stage H13 True HEPA Filter
3. HOCl Generator
4. Cold Evaporation Filter (CEF)
5. Salt Bottle with 1 Gram Scoop
3 5 3
4
2
3
5
How It Works
The Aaira + HEPA incorporates a 4-stage cleaning system to help clean the air. A fan
forces air through the unit from bottom to top.
STAGE 1: Pre-filter.
STAGE 2: True HEPA Filter.
The true High Efficiency Particulate Air (HEPA) filter captures up to 99.97% of particles
down to 0.3 microns in diameter.
STAGE 4: Activated Carbon Filter.
The activated carbon filter absorbs odors, gases, and volatile organic compounds (VOCs).
STAGE 5: HOCl Generator System.
Hypochlorous acid is generated inside the machine, and absorbed by the cold
evaporation filter. The liquid is evaporated as air passes through the cold evaporation
filter. This disperses the HOCl throughout the airspace in the room allowing it to destroy
a variety of bacteria and viruses.
Unpacking and Setup
1.
Remove the unit from the box and check that all the items shown on page 3 in the
product overview are included. Retain the packaging for storing the unit or in the
event it must be shipped back for service.
2.
The unit is shipped with the H13 True HEPA filter sealed inside a protective plastic
bag. Detach the bottom cover and remove the protective packing. Then remove the
filter from the plastic bag, replace it inside the device and replace the bottom cover.
3.
The unit is also shipped with protective packing above the HOCl generator
assembly. Detach the top cover and remove the protective packing. Then replace
the top cover.
4.
Locate the unit on a flat, solid surface in proximity to an AC electrical outlet.
5.
Connect the AC adapter to the unit, and route the power cord to the outlet, but
do not plug it in yet. Make sure that the power cord is out of the way and does not
pose a tripping hazard, and is out of reach of children and pets.
6.
Plug in the unit.
Copyright © 2022 Dernier & Hamlyn Inc. All rights reserved.
4