Dell PS4100 Donanım Bakım Kılavuzu - Sayfa 8
Depolama Dell PS4100 için çevrimiçi göz atın veya pdf Donanım Bakım Kılavuzu indirin. Dell PS4100 47 sayfaları. Storage array
Ayrıca Dell PS4100 için: Donanım Kılavuzu (50 sayfalar), Genel Bakış (7 sayfalar), Kurulum ve Ayarlama Kılavuzu (41 sayfalar), Kurulum (2 sayfalar)

PS4100 Hardware Maintenance Guide
3. Connect the banana plug to ground, or attach the plug to the alligator clip and connect the clip to a
grounded device such as an ESD mat or the metal frame of a grounded piece of equipment.
Chassis Types
The PS4100 array is available in two different chassis types:
• A 2U chassis with 24 2.5-inch drives, installed vertically
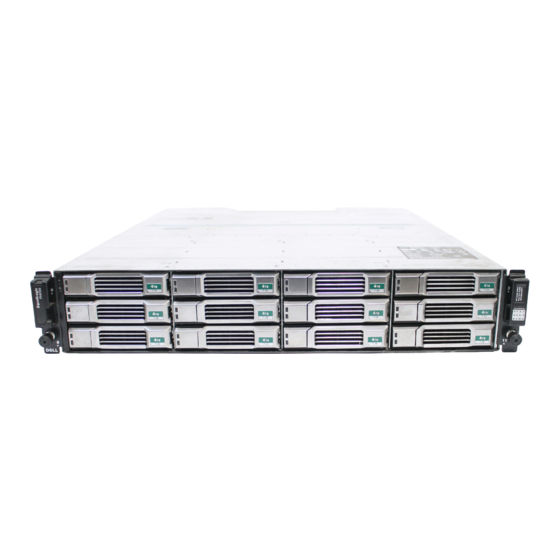
• A 2U chassis with 12 3.5-inch drives, installed horizontally
Array Features
The array has LEDs and other features on both the front and the back.
The Bezel
The bezel is an optional trim panel that attaches to the front of the array to ensure the physical security of
the array. You must remove the bezel to access and maintain the drives.
The bezel has a label that identifies the array model number.
Removing the Bezel
The steps for removing the bezel are the same for all array models.
1. Using the bezel key, unlock the bezel.
2. Holding the bezel, lift the latch on the left side of the bezel and swing the left side away from the array.
3. Lift the right side of the bezel off the right side of the array.
4. Set the bezel aside.
Installing the Bezel
The steps for installing the bezel are the same for all the array models.
1. Hook the right end of the bezel onto the right side of the chassis.
2. Swing the left end of the bezel towards the left side of the chassis.
3. Press the bezel into place until the release latch closes.
4. Using the key provided, lock the bezel and store the key in a safe place.
2
Basic Storage Array Information
