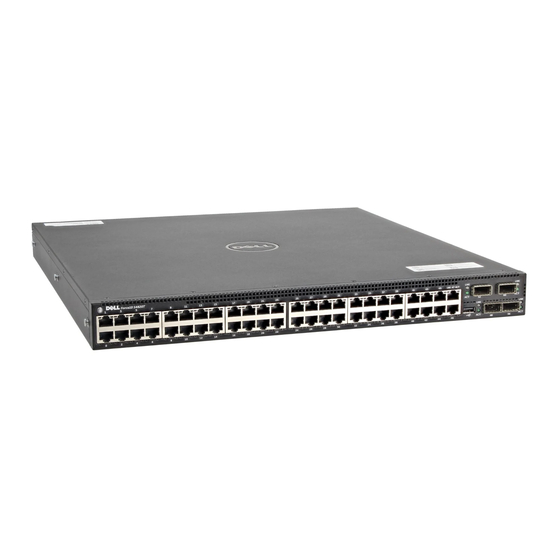
Dell Force10 S4820T System Başlangıç Kılavuzu - Sayfa 19
Anahtar Dell Force10 S4820T System için çevrimiçi göz atın veya pdf Başlangıç Kılavuzu indirin. Dell Force10 S4820T System 39 sayfaları.

Install an AC or DC Power Supply
To install an AC or DC power supply, follow these steps:
NOTE: The PSU slides into the slot smoothly. Do not force a PSU into a slot as
this may damage the PSU or the S4820T chassis.
NOTE: Ensure that the PSU is correctly installed. When the PSU is correctly
installed, the power connector is on the left side of the PSU and the status LED is at
the top of the PSU
NOTE: If you use a single PSU, you must install a blank plate in the other PSU
slot. Dell Force10 recommends using power supply 1 (PSU1) as the blank plate
slot.
Step
Task
Remove the PSU slot cover from the S4820T (PSU side of switch), either of the
1
two PSU slots may be selected.
Remove the PSU from the electro-static bag.
2
• Insert the PSU into the switch PSU slot (PSU exposed PCB edge connector
3
should be inserted first).
• The PSU slot is keyed such that the PSU can only be fully inserted in one
orientation.
• When the PSU is installed correctly it should snap into place and be flush with
the back of the switch.
Plug in the appropriate cord (AC 3 prong or DC wiring) from the switch PSU to
4
the external power source (either AC wall outlet or DC rack bus bar).
If you have a redundant PSU (2nd PSU), repeat steps 1 through 5 above using
5
the 2nd PSU slot on the S4820T switch.
NOTE: The system powers up as soon as the cables are connected between the
power supply and the power source.
13
Installation
