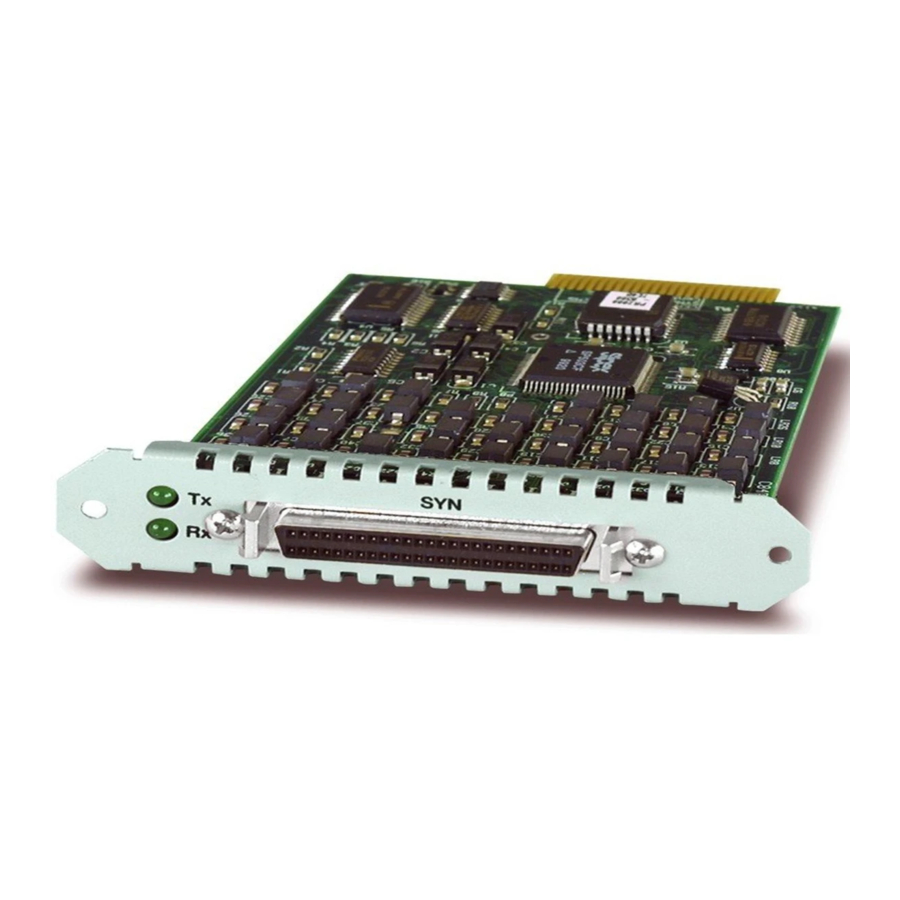
Allied Telesis AT-AR021 (S) BRI-S/T Hızlı Kurulum Kılavuzu - Sayfa 6
Ağ Kartı Allied Telesis AT-AR021 (S) BRI-S/T için çevrimiçi göz atın veya pdf Hızlı Kurulum Kılavuzu indirin. Allied Telesis AT-AR021 (S) BRI-S/T 10 sayfaları. Port interface card
Ayrıca Allied Telesis AT-AR021 (S) BRI-S/T için: Kurulum Kılavuzu (13 sayfalar), Kurulum Kılavuzu (13 sayfalar), Kurulum ve Güvenlik Kılavuzu (8 sayfalar)

6
For more information on PIC jumpers and hardware configurations, see
the Port Interface Card Hardware Reference. This Reference can be found on
the CD-ROM bundled with recently purchased switches or routers, or can
be downloaded from www.alliedtelesyn.co.nz/support/support.html.
Do not attempt to change any jumpers, DIP switches, or other hardware
configurations while the switch or router is connected to a power supply,
redundant power supply, or a 'live' network. Dangerous voltages may be
present on some parts of the board, even if the switch or router is not turned on.
9.
Slide the PIC into place
PIC bays should be filled in numerical order, starting with the lowest
available bay (e.g., bay 0) followed by bays with progressively higher
numbers.
When using AT-AR027 PICs with an AR740 router and NSM, a maximum of four
AT-AR027 PICs can be installed in the router and NSM.
10. Secure the PIC by tightening its thumbscrews
11. Apply power to the switch or router by re-attaching the power cord
12. If you disconnected a redundant power supply, reconnect it
13. Test the PIC
There are several ways to check the PIC is installed and functioning
correctly.
The SHOW SYSTEM command displays general system information about
PICs and any other hardware installed, as well as memory, software release
and patches loaded on the switch or router.
See the Port Interface Card Hardware Reference for detailed information on
PIC testing.
Port Interface Card
C613-04020-01 REV H
