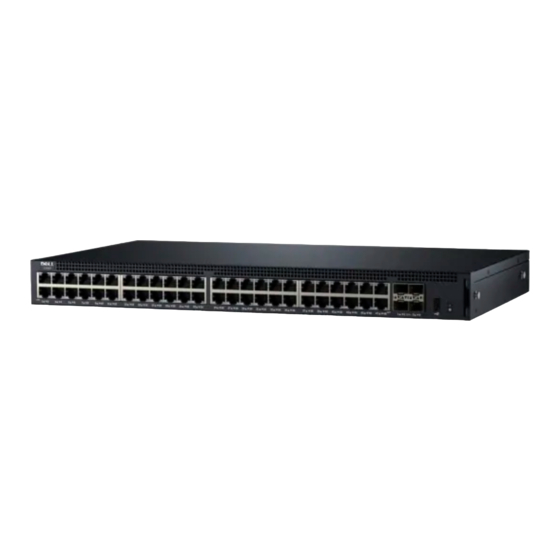
Dell Networking X1052P Başlangıç Kılavuzu - Sayfa 9
Anahtar Dell Networking X1052P için çevrimiçi göz atın veya pdf Başlangıç Kılavuzu indirin. Dell Networking X1052P 43 sayfaları.

6 On the wall mark the locations where the screws to hold the switch must
be prepared.
7 On the marked locations, drill the holes and place all plugs (not provided)
in the holes.
8 Secure the switch to the wall with screws (not provided). Make sure that
the ventilation holes are not obstructed.
Starting and Configuring the Switch
Management Modes
The Dell Networking X1008/18/26 and equivalent PoE versions have a Mode
push button that toggles between Managed and Unmanaged Modes. The
MGMT LED is on when the switch is in Managed Mode and is off when in
Unmanaged Mode. To configure the switch while in Managed Mode, see the
following sections.
NOTE:
Release notes and user documentation can be downloaded from
dell.com/support.
Connecting the Switch to the Network
CAUTION:
Do not plug a phone jack connector into an RJ-45 port. This will
damage the Ethernet switch. Use only twisted-pair cables with RJ-45 connectors
that conform to FCC standards.
To connect the switch to the network:
•
Attach one end of a twisted-pair cable to the switch's RJ-45 connector and
the other end of a twisted-pair cable to another switch or server.
As each connection is made, the link LED corresponding to each port on the
switch is illuminated (green or amber) indicating that the connection is valid.
Initial Configuration Through the Web
The administrator can perform switch configuration using the web
management GUI.
To configure the switch, perform the following:
1 Verify that the switch is in Managed Mode.
Getting Started Guide
7
