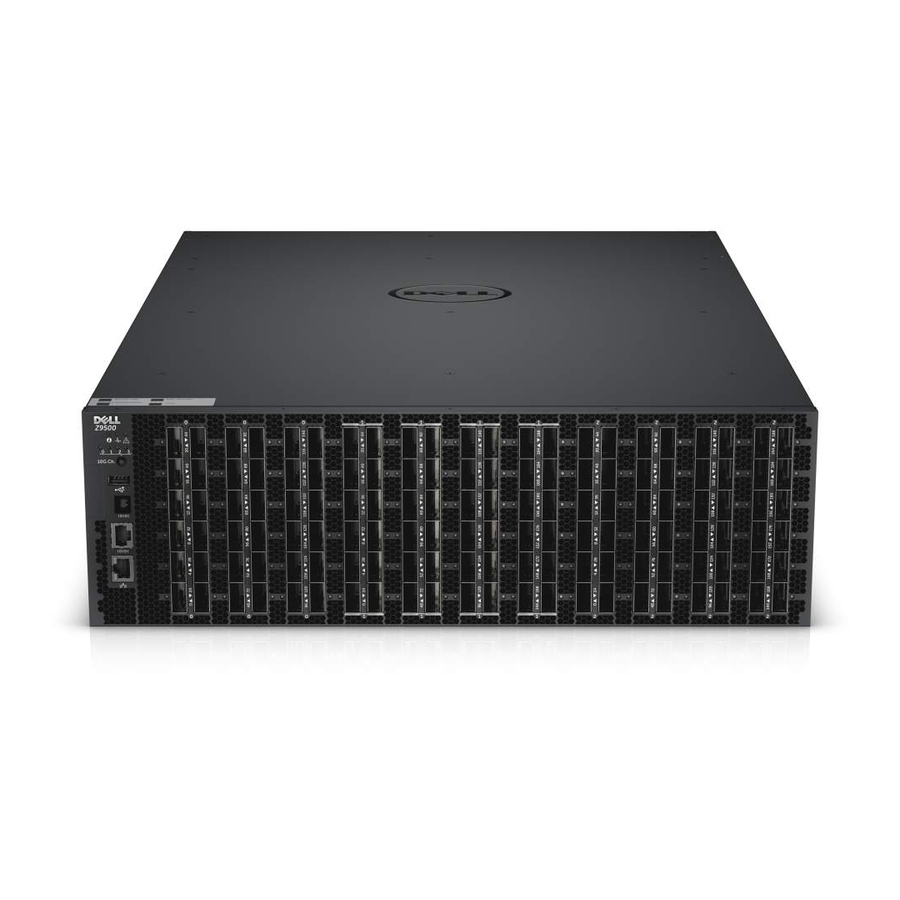
Dell Networking Z9500 Başlangıç Kılavuzu - Sayfa 5
Anahtar Dell Networking Z9500 için çevrimiçi göz atın veya pdf Başlangıç Kılavuzu indirin. Dell Networking Z9500 34 sayfaları. Z9500 switch
Ayrıca Dell Networking Z9500 için: Kurulum Kılavuzu (47 sayfalar)

NOTE: One Rail Kit is required for every chassis in a rack.
•
Screws for rack installation
•
Console cables
•
Any optional items ordered
•
Getting Started Guide
•
Safety and Regulatory Information
•
Warranty and Support Information
•
Software License Agreement
1.
Place the container on a clean, flat surface and cut all straps securing the container.
2.
Open the container or remove the container top.
3.
Carefully remove all components from the container and place it on a secure and clean surface.
4.
Remove all packing material.
5.
Inspect the switch and accessories for damage.
Getting Started Overview
To install the switch and perform the initial configuration, follow these steps:
1.
Assemble 4–post rack frame.
2.
Attach the mounting brackets (supports rack length between 24 and 36 inches).
3.
Install the rails system.
4.
Mount the chassis into a 4–post rack or cabinet using a lifting device.
5.
Secure the chassis ground.
6.
Install the fan modules.
7.
Install the power supplies
8.
Secure the power cables.
9.
Install the Cable Management System (OPTIONAL)
10. Install the QSFP+ optics.
11. Supply power and power up the system.
12. Perform the initial configuration.
Before You Start
Before installing the switch, verify that you meet these guidelines:
•
Enough clearance to the front of the switch so you can read the LEDs.
•
AC power cord reaches from the power outlet to the Utility-panel connector.
•
Switch is rack-mounted before you install the power supply modules.
•
Cabling is away from sources of electrical noise, such as radios, power lines, and fluorescent lighting.
Make sure that the cabling is safely away from other devices that might damage the cables. If needed,
allow one RU space between devices to provide room for cabling.
•
Airflow around the switch and through the vents is unrestricted.
•
Temperature around the unit does not exceed 104°F (40°C). If the switch is in a closed or multi-rack
assembly, the temperature might be higher than normal room temperature.
•
Humidity around the switch does not exceed 85 percent.
•
Altitude at the installation site is below 6600 feet.
Getting Started Guide
5
