Dell Z9100-ON Kurulum Kılavuzu - Sayfa 31
Anahtar Dell Z9100-ON için çevrimiçi göz atın veya pdf Kurulum Kılavuzu indirin. Dell Z9100-ON 43 sayfaları. Open networking
Ayrıca Dell Z9100-ON için: Kurulum Kılavuzu (45 sayfalar), Kurulum Kılavuzu (45 sayfalar)

Accessing the MicroUSB-B Console Port
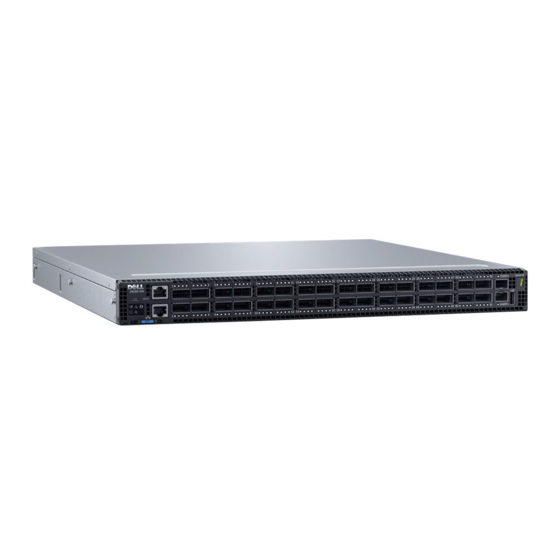
The MicroUSB type B console port is on the I/O side of the Z9100-ON.
The terminal settings are the same for the serial console port and the RS-232/RJ-45 console port:
•
115200 baud rate
•
No parity
•
8 data bits
•
1 stop bit
•
No flow control
When you connect the microUSB-B port, it becomes the primary connection and, while connected, all
messages are sent to the microUSB-B port.
NOTE: Before starting this procedure, be sure that you have a terminal emulation program already
installed on your PC. You need to install the appropriate drivers to support the microUSB-B port. For
assistance, contact
To access the microUSB-B console port, follow these steps.
1.
Power on the PC.
2.
Connect the USB-A end of cable into an available USB port on the PC.
3.
Connect the microUSB-B end of cable into the microUSB-B console port on the Z9100-ON.
4.
Power on the Z9100-ON.
5.
Install the necessary USB device drivers. (To download the drivers, go to
support.)
For assistance, contact Dell Networking Technical Support.
6.
Open your terminal software emulation program to access the Z9100-ON.
7.
Confirm that the terminal settings on your terminal software emulation program are as follows:
•
115200 baud rate
•
No parity
•
8 data bits
•
1 stop bit
•
No flow control
Mounting the USB Storage
The USB storage supports the FAT file system. The USB storage does not automatically mount. To use
USB storage, you must first mount the device.
ATTENTION REVIEWERS:
Is this output still correct?
1.
Create a mount directory for the USB.
ONIE:/ # mkdir /mnt/usb
2.
View the fixed disks using the fdisk command.
ONIE:/mnt # fdisk -l
Management Ports
http://www.dell.com/support
to download the drivers.
http://www.dell.com/
31
