Diamond CSP/4 Manuel - Sayfa 7
Ticari Gıda Ekipmanları Diamond CSP/4 için çevrimiçi göz atın veya pdf Manuel indirin. Diamond CSP/4 8 sayfaları.
3
1
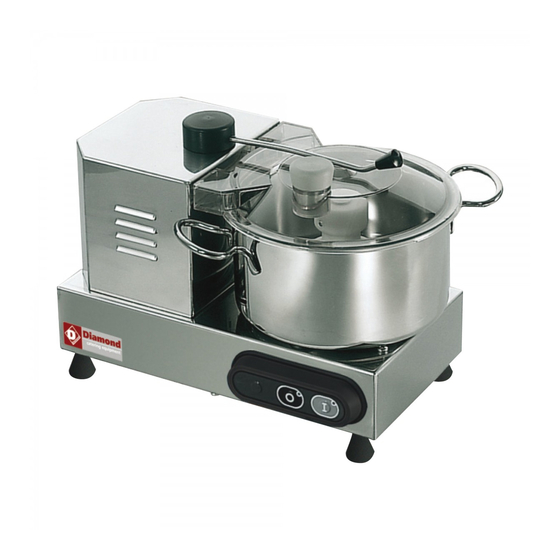
FIG. n°7 - Position of controls
2
5.2 - LOADING OF THE PRODUCT (see FIG. n°8)
NOTE: Products to be cut must be loaded onto the basin when the motor is
switched off and in case of a CUTTER vv after the speed dial knob has been set to
the "0" position.
The procedure is as follows:
1 rotate the arm (ref. 1 - FIG. n°8) anticlockwise in order to remove the lid (ref.
2 - FIG. n°8);
2 (WARNING) load the product into the basin (ref. 3 - FIG. n°8) and be careful
of the two blades; if the product is in large pieces, break them into smaller
pieces by hand before putting them onto the basin. WARNING !! Fill with
liquid products to the maximum height shown on the bowl;
3 to avoid accidents, place yourself correctly (see FIG. n°9): the body must be
perpendicular to the working table; the hands must not force on the machine or
stop its movement .
Never lean on the machine and avoid any direct contact with it .
4 re-position the lid and rotate the arm to closed position;
5 start the machine by pushing the start button "I" (ref. 2 - FIG. n°7);
6 don't use la machine at low speed for long time;
7 load additional quantities of product through the upper hole (ref. 4 - FIG. n°8)
during cutting, if necessary;
8 once the product has been cut, stop the machine by pushing the red stop button
(ref. 3 - FIG. n°7). If the CUTTER is provided with a speed dial knob, adjust
it to the "0" position (ref. 3 - FIG. n°7) and then stop the machine.
1
2
3
4
FIG. n°8 - Loading of the product.
1 Dial knob to set the number of
rotations;
2 Start button "I".
3 Stop button "0".
FIG. n°9 - Correct position
10
5.3 - SHARPENING OF ROTATING BLADES
WARNING: Follow the the instructions below to
sharpen the two blades if they do not cut properly:
1 rotate the closing arm (1) so as to remove the lid
(2);
2 remove the rotating blade holder (3);
3 use the sharpening stone supplied with the machine
and sharp knife on the cutting edge, from internal
towands esternal till reviving the blade edge.
FIG. n°10 - Knives holder removal
CHAP. 6 - ORDINARY CLEANING
6.1 - GENERAL FEATURES
•
The CUTTER cleaning must be carried out at least once a day or more
frequently, if necessary.
•
Cleaning must be extremely accurate for those parts of the CUTTER which
come into direct or indirect contact with foodstuffs.
•
The CUTTER must not be cleaned with water-cleaners and high pressure jets
of water. Tools, brushes and other devices likely to damage the CUTTER's
surface must not be used.
Before carrying out any cleaning operation it is necessary:
a) to disconnect the power supply plug from the socket to isolate the CUTTER
from the rest of the electric circuit completely;
b) to set the dial knob to the "0" position in case of a vv model.
6.2 - CLEANING PROCEDURE OF THE MACHINE (see FIG. n°10)
6.2.1 - cleaning of lid, rotating blade holder and basin
WARNING: Rotate the closing arm (1) and lift the lid (2).
Now the blade holder (3) and the basin (4) can be easily removed by pulling them
upwards (a).
Once they have been removed, clean them with water and neutral detergent.
NOTE: proceed with this operation wearing protection gloves.
6.2.2 - ordinary cleaning
NOTE: Disconnect the power supply plug
Cleaning of the machine body on the worktable can be carried out with neutral
detergent and a damp cloth frequently rinsed in water.
When cleaning has been completed, dry the components accurately.
3
1
11
2
a