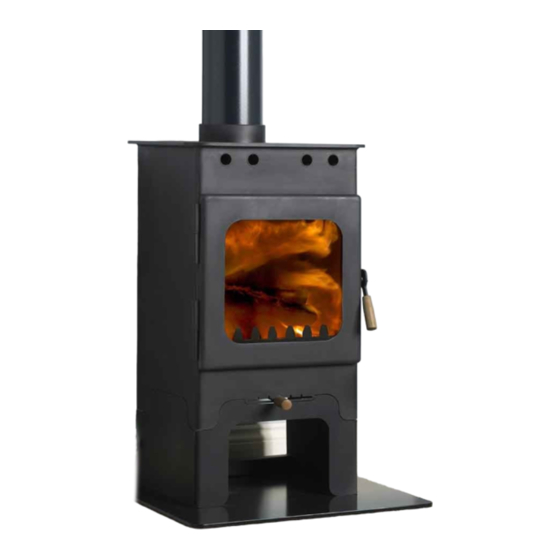
Burley Fireball Brampton 9108 Kurulum Talimatları ve Kullanım Kılavuzu - Sayfa 10
Odun sobası Burley Fireball Brampton 9108 için çevrimiçi göz atın veya pdf Kurulum Talimatları ve Kullanım Kılavuzu indirin. Burley Fireball Brampton 9108 20 sayfaları.
Ayrıca Burley Fireball Brampton 9108 için: Kurulum Talimatları ve Kullanım Kılavuzu (20 sayfalar)

Only permanently open vents can be used and consideration should be given to draught when the
stove is not in use, therefore site this vent carefully.
The vent covers should comply with Building Regulations Part J and should be sited where they
cannot be blocked.
WARNING
The Burley Fireball series of stoves are primarily for burning wood (this includes logs and sawdust
briquettes). In smoke control areas only wood fuels should be used.
Before purchasing a stove we would strongly advise you seek the advice of a HETAS installer to ensure
suitability of the product to your home.
Other fuels, such as coal (any type), smokeless fuels or petroleum coke can only be used if the optional multi-
fuel grate is fitted (available on models 9104 and 9105 only). Under no circumstances should liquid fuels be
added. It is not an incinerator and rubbish, including painted or tanalised wood and MDF, should not be burnt
in this appliance, doing so is potentially dangerous and will invalidate any guarantees immediately.
Stove Assembly
Door Handle Adjustment
There is a CAM and LOBE mechanism which allows the handle to be moved up and down or in
and out. If required, adjust the handle so it lines up and engages correctly with the stud in the side
of the stove. Incorrect alignment will put excessive force on the door hinges or will result in a poor
seal between the door and the stove.
compresses. A 5mm Allen key will be required.
Page 10 of 20
The door may require adjustment as the rope seal
To adjust the door, loosen off the
socket screw with the Allen key.
Holding the Allen key, use a spanner
to turn the off centre cam to
position the handle. Hold the
cam in the desired position
whilst tightening the screw
with the Allen key.
