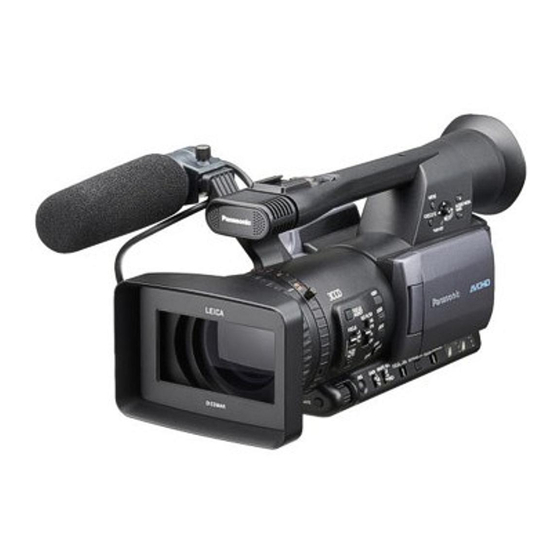
Panasonic AG-HMC150 Kullanıcı Kılavuzu - Sayfa 15
Video Kamera Panasonic AG-HMC150 için çevrimiçi göz atın veya pdf Kullanıcı Kılavuzu indirin. Panasonic AG-HMC150 35 sayfaları. Avchd camcorder
Ayrıca Panasonic AG-HMC150 için: Broşür ve Teknik Özellikler (8 sayfalar), Bilgi menüsü (20 sayfalar), Broşür ve Teknik Özellikler (12 sayfalar), Broşür (16 sayfalar), Ürün Kılavuzu (22 sayfalar), Temel Talimatlar (20 sayfalar)

Charging the battery
1. Connect the power cord to the AC charger/
adapter. Disconnect the DC cord if it is
connected, since the battery will not charge if DC
cord is connected.
2. Insert the battery (align the battery with the mark
and insert fully until you hear a solid click).
3. e charging lamp will indicate the state charging:
On: Charging in progress; Off: Charging complete
Flashing: Indicates there may be a fault with the
battery or the AC adapter. Verify the contacts are
clean and insert the battery again. If the ashing
continues, report this to your teacher or MassArt
Tech Central.
e standard VW-VBG260 (7.2V/2640mAh)
batteries will take approximately 170 minutes to
charge and provide up to 100 minutes of continuous
camera use. e high capacity VW-VBG6 (7.2V/
5800mAh) batteries will take approximately 350
minutes to charge and provide up to 230 minutes of
continuous camera use. Charging may take longer in
high or low temperatures or if the battery has not
been in use for a long period of time.
Operating on AC line current
You can connect the DC adapter to the charger and
insert the other end as if it was a battery on the
camera in order to operate the camera from line
current. If a battery is attached to the charger it will
Introduction to the Panasonic AG-HMC150 AVCHD camcorder (rough draft)
not recharged as long as the DC cord is connected to
the AC adapter/charger.
LCD Display
Brightness and reverse image. e LCD brightness
can be adjusted, see pages 25-28 in the manual for
details on how to adjust LCD brightness as well as
reversing the image if needed.
Information display. e LCD display provides a
dizzying array of information, some of it is crucial to
know, the rest simply clutters the view, fortunately,
you can turn the information display on and off by
pressing the DISP/MODE CHK button or by
con guring the OTHER DISPLAY setup in the
DISPLAY SETUP screen of the setup menus (see
page 94 in the owners manual). Detailed descriptions
of all the LCD information and warning messages
that may appear can be found on pages 76 through
81 in the owner's manual.
1. Timecode. Time code is a number recorded along
with the video for editing purposes that identi es
every frame of the video in terms of hours,
minutes, seconds, and frames in the form
HH:MM:SS:FF. Pressing the COUNTER button
changes what number is displayed (see page 76 of
the manual).
2. Media information. is little SD card icon will
let you know if recording is possible (no letter is
displayed) or the card is write protected (P) or
http://kino-eye.com/dvb/
15 / 35
