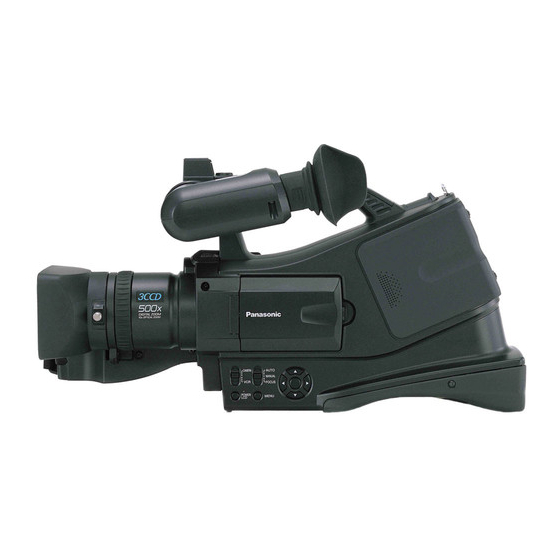
Panasonic AGDVC20P - 3 CCD DV CAMCORDER Kullanım Talimatları Kılavuzu - Sayfa 24
Video Kamera Panasonic AGDVC20P - 3 CCD DV CAMCORDER için çevrimiçi göz atın veya pdf Kullanım Talimatları Kılavuzu indirin. Panasonic AGDVC20P - 3 CCD DV CAMCORDER 40 sayfaları. Agmini-dv camera/recorder
Ayrıca Panasonic AGDVC20P - 3 CCD DV CAMCORDER için: Kullanım Talimatları Kılavuzu (42 sayfalar), Kullanım Talimatları Kılavuzu (42 sayfalar)

DVC20_Eng.book 24 ページ 2005年10月31日 月曜日 午前10時36分
Manual focus adjustment
If auto focusing is difficult due to the conditions, then manual
focusing is available.
≥Set to Tape Recording Mode.
1
Set the [AUTO/MANUAL/FOCUS] switch to [MANUAL].
AUTO
MANUAL
FOCUS
2
Set the [AUTO/MANUAL/FOCUS] switch to [FOCUS].
AUTO
MANUAL
FOCUS
≥The MNL and the manual focus indication [MF] will be
displayed.
3
Rotate the focus ring to adjust the focus.
≥When focused with a wide angle, the subject may not be in
focus when zoomed in. First, zoom in on the subject, and then
focus on it.
ª
To restore to the automatic adjustment
Set the [AUTO/MANUAL/FOCUS] switch to [AUTO] or
[FOCUS].
24
Record mode
MNL
MF
Manual shutter speed/aperture adjustment
Shutter Speed
Adjust it when recording fast-moving subjects.
Aperture
Adjust it when the screen is too bright or too dark.
≥Set to Tape Recording Mode.
1
Set the [AUTO/MANUAL/FOCUS] switch to [MANUAL].
AUTO
MANUAL
FOCUS
2
Press the [4] button until the shutter speed indication or
aperture value indication appears.
1)
MNL
1/1000
1) Shutter speed
2) (Aperture) Iris/gain value
3
Press the [2] or [1] button in order to adjust the shutter
speed or aperture.
ª
To restore to automatic adjustment
Set the [AUTO/MANUAL/FOCUS] switch to [AUTO].
Manual shutter speed adjustment
≥Avoid recording under fluorescent light, mercury light or
sodium light because the color and brightness of the playback
image may change.
≥If you increase the shutter speed manually, the sensitivity
lowers and accordingly the gain value increases
automatically, which may increase the noises on the screen.
≥You may see vertical lines of light in the playback image of a
brightly shining subject or highly reflective subject, but this is
not a malfunction.
≥During normal playback, image movement may not look
smooth.
≥When recording in the extremely bright place, the color of the
screen may change or flicker. If this happens adjust the
shutter speed manually to 1/60 or 1/100.
Manual iris/gain adjustment
≥If the value does not become "OPEN", you cannot adjust the
gain value.
≥If the gain value is increased, the noise on the screen
increases.
≥Depending on the zoom magnification, there are iris values
that are not displayed.
ª
Shutter speed range
1/60 to 1/8000 seconds: Tape Recording Mode
The shutter speed closer to 1/8000 is faster.
ª
Iris/gain value range
CLOSE (Closed), F16, ..., F2.0,
OPEN (Opened) 0dB, ..., 18dB
Value closer to [CLOSE] darken the image.
Value closer to [18dB] brighten the image.
Values with dB are gain values.
MNL
1/60
OPEN
OdB
2)
MNL
1/60
F2.0
0dB
