Panasonic WV-NF284 - i-Pro Network Camera Kurulum Kılavuzu - Sayfa 17

Video Kamera Panasonic WV-NF284 - i-Pro Network Camera için çevrimiçi göz atın veya pdf Kurulum Kılavuzu indirin. Panasonic WV-NF284 - i-Pro Network Camera 36 sayfaları. Ip video cameras
Ayrıca Panasonic WV-NF284 - i-Pro Network Camera için: Teknik Özellikler (2 sayfalar), Broşür (2 sayfalar), Referans (2 sayfalar), Referans (2 sayfalar), Karşılaştırma Tablosu (6 sayfalar), Teknik Özellikler (2 sayfalar), Teknik Özellikler (2 sayfalar), Entegrasyon Notu (8 sayfalar)
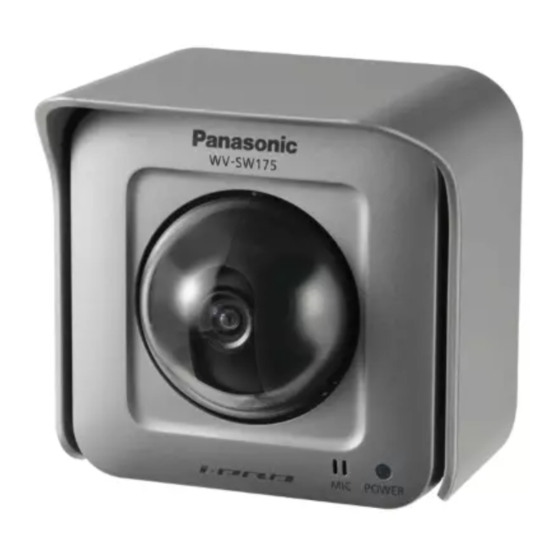
Panasonic WV-NF284 - i-Pro Network Camera Kurulum Kılavuzu
Installation of the camera mount
bracket
Step 1
Make a hole in the ceiling.
If the camera is directly mounted on a
wall/ceiling, align the camera mounting posi-
tion with the position of the hole through
which the cables run and make the hole.
ø75 mm
Ceiling board
Make a hole
Note:
Mounting on a two-gang junction box
(locally procured) is available since the
screw holes of the provided camera
mount bracket is also designed for
mounting on it.
<Camera mount bracket>
Side cable hole
46 mm
Step 2
Fix the camera mount bracket.
Ceiling
Camera mount
bracket
Anchor bolt x4 (not provided,
M4 or equivalent)
4-ø4.7 mm
Ceiling cable
hole
Important:
• Procure 4 mounting anchor bolts accord-
ing to the material of the installation area.
In this case, wood screws and nails
should not be used.
Recommended tightening torque is as
follows.
M4: 1.6 N·m {16 kgf·cm}
• Required pull-out capacity of a single
bolt is 196 N {20 kgf} or more.
• If a ceiling board such as plaster board
is too weak to support the total weight,
the area shall be sufficiently reinforced.
• The protection sheet attached to the
dome cover shall be peeled off after
installation.
Remove the tab using a pliers, etc.
Wiring hole
Note:
It is also possible to mount the camera
on a ceiling or a wall without making a
hole. To mount the camera without mak-
ing a hole, it is necessary to remove the
tab of the camera to open the wiring hole
as shown in the illustration.
17