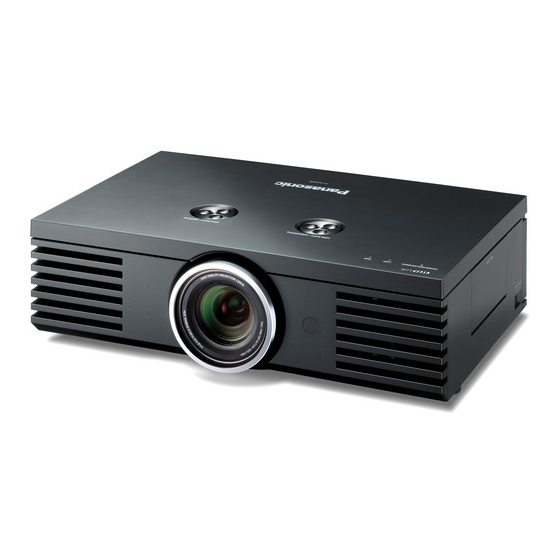
Panasonic PT-AE4000E İşlevsel Talimatlar - Sayfa 28
Projektör Panasonic PT-AE4000E için çevrimiçi göz atın veya pdf İşlevsel Talimatlar indirin. Panasonic PT-AE4000E 50 sayfaları. Full high-definition home cinema projector
Ayrıca Panasonic PT-AE4000E için: Kullanım Talimatları Kılavuzu (36 sayfalar), Broşür ve Teknik Özellikler (6 sayfalar), İşlevsel Talimatlar (50 sayfalar)

PICTURE menu
3.
Press ▲ ▼
to select your desired colour and press
the ENTER button.
RED
GREEN
BLUE
CYAN
MAGENTA
YELLOW
The sample box and the menu items are displayed
on the screen.
RED
DEFAULT
ENTER
SELECT
RETURN
Sampled colour
4.
Press ▲ ▼ to select a menu item and the ◄ ► to
adjust each item level.
The result box is displayed on the right of the sample
box and shows the adjusted colour.
Both the sampled and adjusted colour indicated in
the RGBCMY mode are shown only as a guide.
RED
DEFAULT
ENTER
SELECT
RETURN
Sampled colour
Adjust the vividness of the colour.
COLOUR
Setting range: −30 to +30
Adjust the colour tone.
TINT
Setting range: −30 to +30
Adjust the brightness of the colour.
BRIGHTNESS
Setting range: −20 to +20
5.
Press the
ENTER button to store the adjusted
result.
" PROCESSING" is displayed for a few seconds and
the result is stored in LOG.
You can store up to 6 different colour adjusted
images under LOG for each PICTURE MODE
setting.
6.
Press the
MENU or RETURN button to return to
the previous menu.
Repeat the steps above to store more adjustments.
E
28 -
NGLISH
-
COLOUR
0
+
TINT
0
-
+
BRIGHTNESS
0
-
+
COLOUR
+10
-
+
-
TINT
+10
+
-
BRIGHTNESS
+10
+
Adjusted colour
Managing the stored logs which are
created through the CURSOR mode.
You can edit or delete the stored logs of the
selected PICTURE MODE.
LOG and press the ENTER
1.
Press ▲ ▼ to select
button.
The LOG menu is displayed.
ADJUSTMENT MODE
PICTURE MODE
COLOUR
POINT1
+10
POINT2
+10
POINT3
+10
POINT4
+10
POINT5
+10
POINT6
+10
POINT7
+10
POINT8
+10
ALL DELETE
Sampled colour
2.
Press ▲ ▼ to select the required log from 1 - 8 or
ALL DELETE, and press the ENTER button.
Select CHANGE to edit the log.
The CURSOR mode is displayed and you can
readjust the colour.
Select DELETE to delete the log.
The confirmation screen will be displayed. Select
OK to delete.
When you select ALL DELETE, the "DELETE ALL
LOG." screen is displayed. Select OK to delete all
logs. The PROFILE setting will be set to NORMAL.
Managing the stored logs which are
created through the RGBCMY mode.
ADJUSTMENT MODE
PICTURE MODE
COLOUR
RED
+10
GREEN
+10
BLUE
+10
CYAN
+10
MAGENTA
+10
YELLOW
+10
ALL DELETE
Sampled colour
1.
Press ▲ ▼ to select
LOG and press the ENTER
button.
The LOG menu is displayed.
2.
Select the required log from 6 different colours
(R, G, B, C, M, Y) or ALL DELETE, and press the
ENTER button.
Select CHANGE to edit the log.
The RGBCMY mode is displayed and you can
readjust the colour.
Select DELETE to delete the log.
The confirmation screen will be displayed. Select
OK to delete.
When you select ALL DELETE, the "DELETE ALL
LOG." screen is displayed. Select OK to delete all
logs. The PROFILE setting will be set to NORMAL.
: CURSOR
: NORMAL
TINT
BRIGHTNESS
+10
+10
+10
+10
+10
+10
+10
+10
+10
+10
+10
+10
+10
+10
+10
+10
Adjusted colour
: RGBCMY
: NORMAL
TINT
BRIGHTNESS
+10
+10
+10
+10
+10
+10
+10
+10
+10
+10
+10
+10
Adjusted colour
