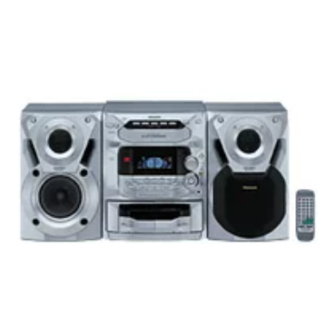
Panasonic SAAK18 - MINI HES W/CD-PLAYER Kullanım Talimatları Kılavuzu - Sayfa 22
Stereo sistemi Panasonic SAAK18 - MINI HES W/CD-PLAYER için çevrimiçi göz atın veya pdf Kullanım Talimatları Kılavuzu indirin. Panasonic SAAK18 - MINI HES W/CD-PLAYER 32 sayfaları. Panasonic cd stereo system operating instructions
Ayrıca Panasonic SAAK18 - MINI HES W/CD-PLAYER için: Kullanım Talimatları Kılavuzu (32 sayfalar), Kullanım Talimatları Kılavuzu (32 sayfalar), Kullanım Talimatları Kılavuzu (32 sayfalar), Kablo Bağlantı Şemaları (40 sayfalar)

4
1
2
4
A
22
RQT5265
Recording from radio broadcasts
Press [c DECK 2 OPEN] and insert the tape.
1
Close the holder by hand.
Tape direction is automatically set to " 3 3 3 3 3 ".
2
Press [REV MODE] to select the reverse mode.
Every time you press the button:
1
,
2
Select a radio station. Perform steps 1 through 3
3
on page 13.
Press [a REC/STOP] to start recording.
4
If you selected " ,
Tape direction
change to "
To stop recording
Press [a REC/STOP] again.
Recording can also be stopped by pressing [L].
To start recording on the reverse side
Load a tape and change the tape direction as follows:
1. Press [TAPE, DECK 1/2] and select tape deck 2.
2. Press [/] and immediately thereafter [L]. The tape direction will
be shown as "4".
To record from a specific point on a tape
Before recording, advance the tape to the point from where you want
to start recording.
To cut an unnecessary part while recording
1. Press [a REC/STOP] during the unnecessary part. The cassette
deck will go into the stop mode.
2. Press [a REC/STOP] to resume recording again. Recording will
continue in the same direction as before.
Note
When recording an AM broadcast, sound is momentarily interrupted
when you start and stop the recording.
To reduce noise while AM recording (Beat proof
function) A
Press [g/(, FM MODE/BP] while recording.
Each time you press the button, "BP1" and "BP2" will be displayed
alternately.
Select the position where there is less noise.
: One side is recorded, then recording stops auto-
matically.
: Both sides (front side
reverse side) are recorded,
then recording stops automatically.
" in step 2, the direction will automatically
" when recording starts.
