Panasonic SCPM29 - MINI HES W/CD PLAYER Kullanım Talimatları Kılavuzu - Sayfa 20
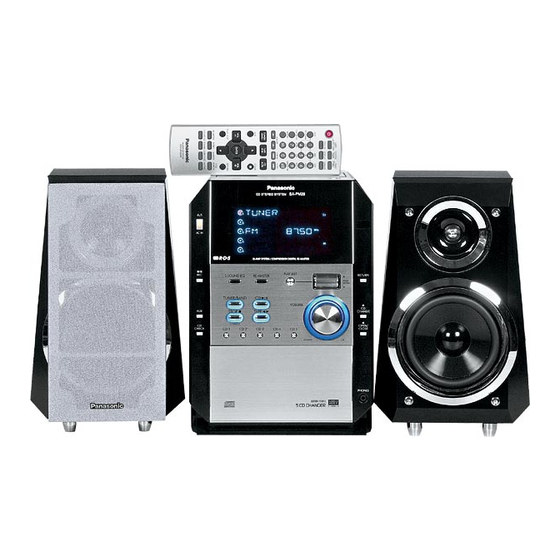
Stereo sistemi Panasonic SCPM29 - MINI HES W/CD PLAYER için çevrimiçi göz atın veya pdf Kullanım Talimatları Kılavuzu indirin. Panasonic SCPM29 - MINI HES W/CD PLAYER 28 sayfaları. Cd stereo system model no. sc-pm29
Ayrıca Panasonic SCPM29 - MINI HES W/CD PLAYER için: Kullanım Talimatları Kılavuzu (28 sayfalar), Kullanım Talimatları Kılavuzu (28 sayfalar)
A
To protect tapes against further recording.
B
SLEEP
CLOCK/
PLAY/
- AUTO OFF
TIMER
REC
^
TITLE IN
DISPLAY
DIMMER
DISC
ABC
DEF
1
2
3
PLAY MODE
PROGRAM
GHI
JKL
MNO
4
5
6
PLAY MODE
PQRS
TUV
WXYZ
7
8
9
REPEAT
SPACE l"#
>
0
10
=
DEL
/REW
/FF
ALBUM
u
i
TUNER/
TAPE
CD
BAND
/
w q
q
h
AUX
CLEAR
g
VOL
VOL
ENTER
PLAY LIST
RETURN
TITLE
RE-MASTER
INTRO
MARKER
SEARCH
S.SOUND EQ
SOUND
SORROUND
MUTING
C
SLEEP
CLOCK/
PLAY/
- AUTO OFF
TIMER
REC
^
TITLE IN
DISPLAY
DIMMER
DISC
ABC
DEF
1
2
3
PROGRAM
GHI
JKL
MNO
2
4
5
6
PLAY MODE
PQRS
TUV
WXYZ
7
8
9
REPEAT
SPACE l"#
>
0
=
10
DEL
ALBMU
/REW
/FF
u
i
TUNER/
TAPE
CD
BAND
/
w q
q
h
AUX
CLEAR
g
VOL
VOL
ENTER
PLAY LIST
RETURN
TITLE
RE-MASTER
INTRO
MARKER
SEARCH
S.SOUND EQ
SOUND
SORROUND
MUTING
1
OPEN
2
PLAY MODE
20
Adhesive tape
8
POWER
/
h
REC
AC IN
PLAY LIST
/
h
S.SOUND EQ
RE-MASTER
REC
TUNER/BAND
CD q / h
VOLUME
STOP g
STOP g
TAPE 7
AUX
- DEMO
CD
CD 1
CD 2
CD 3
CD 4
CD 5
- DEMO
CHECK
DOWN
TAPE 7
OPEN
8
POWER
AC IN
PLAY LIST
/
h
S.SOUND EQ
RE-MASTER
REC
RETRUN
PUSH
ENTER
TUNER/BAND
CD q / h
VOLUME
;
STOP g
TAPE 7
CD
AUX
CHANGE
- DEMO
;
CD
CD 1
CD 2
CD 3
CD 4
CD 5
OPEN/
CHECK
CLOSE
DOWN
UP
PHONES
Making a recording
Before recording
Types of tapes which can be recorded correctly
Use normal position tapes.
High position and metal position tapes can be used, but
the unit will not be able to record or erase them correctly.
Erasure prevention
The illustration shows how to remove the tabs to prevent
recording. To record on the tape again, cover as shown.
The effect of volume and sound quality on
recording
These have no effect on recording.
They can be changed for playback.
To erase a recorded sound
Press [TAPE 7] and then [STOP g, -DEMO].
1
Insert the recorded cassette with the tape facing in.
2
RETRUN
PUSH
ENTER
Press [PLAY MODE] on the remote control to select
3
reverse mode.
;
CD
CHANGE
Press [*/ h REC].
;
4
OPEN/
CLOSE
UP
Your attention is drawn to the fact that recording
prerecorded tapes or discs or other published or
PHONES
broadcast material may infringe copyright laws.
C Preparatory steps
Do these steps before each recording.
W i n d u p t h e l e a d e r t a p e s o r e c o r d i n g c a n b e g i n
immediately.
Preparation: Press [TAPE 7] then [STOP g, -DEMO]
to select tape as the source.
1
Press [; OPEN], insert a cassette with the
OPEN
tape facing in.
Make sure the cassette is fully inserted and close the
lid by hand.
The tape direction is automatically set to "F o".
To record on the reverse side
Press [TAPE 7] twice, then press [STOP g,
-DEMO].
2
Press [PLAY MODE] on the remote control to
select the reverse mode.
Every time you press the button:
v
One side only records.
v
/ $ Both sides are record. (forward
"$ " automatically changes to "/ " when [*/ h
REC] is pressed.
A
B
/
$
reverse).