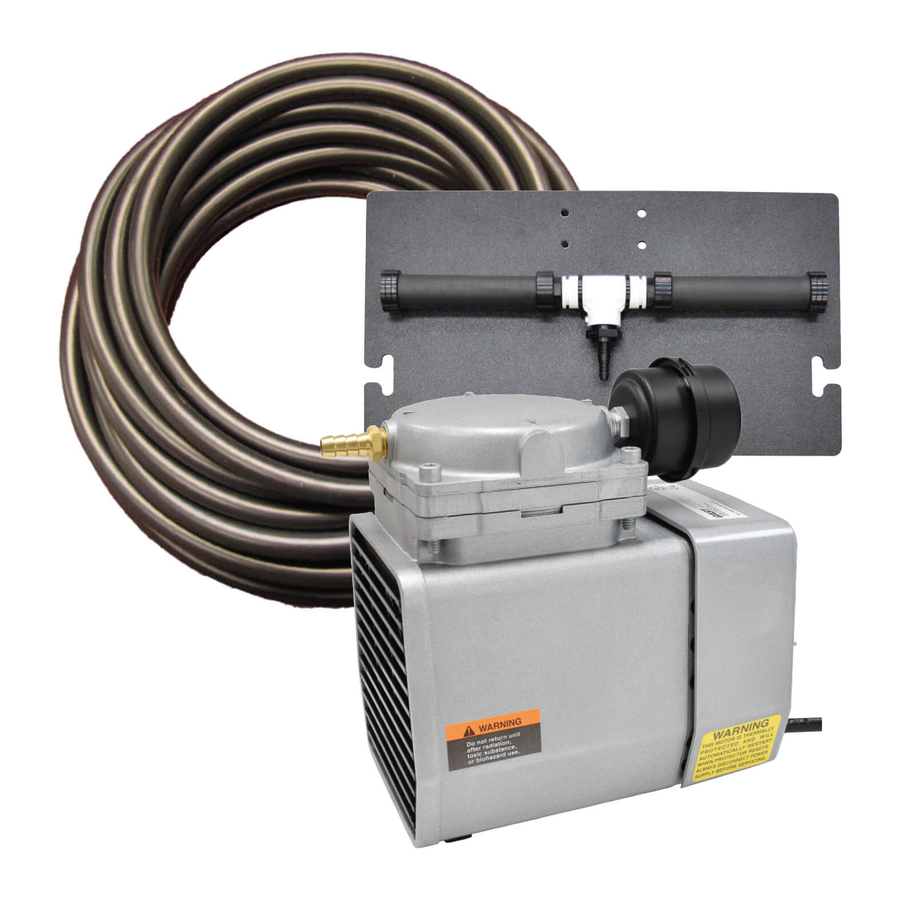
EasyPro PA12 Kurulum, İşletim, Bakım Manüelleri - Sayfa 5
Çim ve Bahçe Ekipmanları EasyPro PA12 için çevrimiçi göz atın veya pdf Kurulum, İşletim, Bakım Manüelleri indirin. EasyPro PA12 8 sayfaları. Windmill aeration systems
Ayrıca EasyPro PA12 için: Kurulum - İşletme Bakım Manüelleri (8 sayfalar)

General Assembly Instructions
1.
Unpack the aeration system to ensure all parts were received. If a shortage
occurs, please notify EasyPro immediately.
2.
Assemble diffusers. Detailed instructions are included with each diffuser
assembly.
3.
For Sentinel Deluxe units, the filter and valves are connected to the
compressor.
For basic kits you will need to install the inlet filter and outlet assembly.
On all basic kits, remove the compressor from the box and remove plugs
from ports on the compressor. Then assemble air filter on the inlet port and
valved outlet assembly on the discharge port. PA10 and PA12 systems are a
single line with no valve.
See images for reference of your system.
PA50 • Fig. 4c
4a. For PA10 style kits (1/20 hp DC22 Compressor)
4b. For PA12 style kits (1/8 hp DC12 Compressor)
4c. For PA50/75/100 style kits (1/4, 3/4 and 1 hp Rotary Vane Compressors)
5.
Unroll the entire roll of tubing. It is recommended that the diffuser be installed
at this point. This will allow you to trim any unused tubing before attaching to
the compressor. Use clamps to secure tubing to outlet assembly.
6.
Open the valves on the outlet assembly to their full open position. Plug the
compressor into a GFCI outlet and adjust each valve to equal the air flow
to each diffuser. This equalizes air flow between diffusers with different
operating depths and/or tubing lengths.
PA10 • Fig. 4a
PA75 • Fig. 4c
PA12 • Fig. 4b
5
PA100 • Fig. 4c
