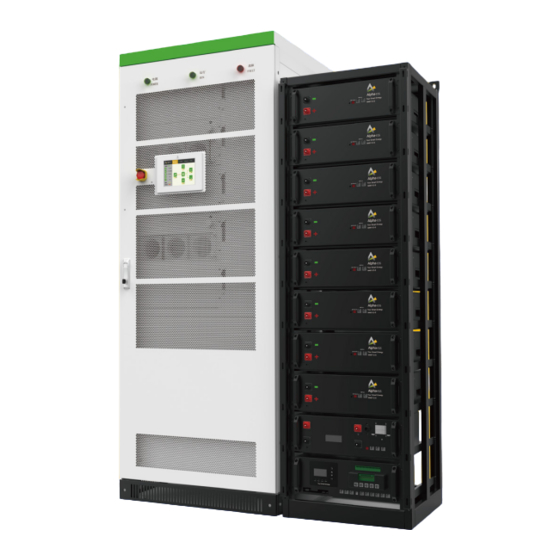
Alpha ESS Storion-T100 Kurulum Kılavuzu - Sayfa 14
Depolama Alpha ESS Storion-T100 için çevrimiçi göz atın veya pdf Kurulum Kılavuzu indirin. Alpha ESS Storion-T100 18 sayfaları. Energy storage system

INSTALLATION
F.
Connect the COM port 9 and COM port 10 of TOP BMU box with a regular net cable.
G.
Another COM port of HV900112 should be inserted with the terminal residence from
HV900112 parts list. You can see the detailed information Figure 4-13.
Figure 4-13 Terminal resistance in one of the HV900112
H.
Connect TOP BMU COM port 3 to Ethernet.
4.4.1.2 Battery Power Cables Connection
The battery DC positive and negative port of HV900112 can be directly connected to the
BAT+ and BAT- of PCS as Figure 4-14 shows.
Figure 4-14 Terminal resistance in one of the HV900105
Figure 4-14 Battery side-power cables connection
Earthing Point
After wiring the battery side, please fix each box
with the four screws and four grounding serrated
washers to the racks. These screws and ground-
ing serrated washers are shipped in the corre-
sponding batteries, HV900112, Top BMU box.
Figure 4-15 Fix all the batteries,
HV900112 and TOP BMU box
23
24
4.4.2. Inverter Side-Wiring
The wiring mode of the PCS is down inlet and down outlet, the incoming and outlet
wiring holes located in bottom of the PCS cabinet. The cables put into the cable trough
via the wire holes at the base. Open the front door and dismantle the dam-board to see
wiring of the cooper bars. As for wiring requirements, single cables or multiple cables
with proper wire diameter should be selected.
The wiring methods should be in accordance with the National Electrical Code or other
local standards.
Figure 4-16 PCS rack wiring hole and corresponding copper bars
Open the dam-board beside the switch and then can see the wiring copper bar as
shown below.
1
Front View
4
567 89
10
2 3
11 12
Figure 4-17 PCS wiring
copper bars designation
with STS module
3D View
INSTALLATION
