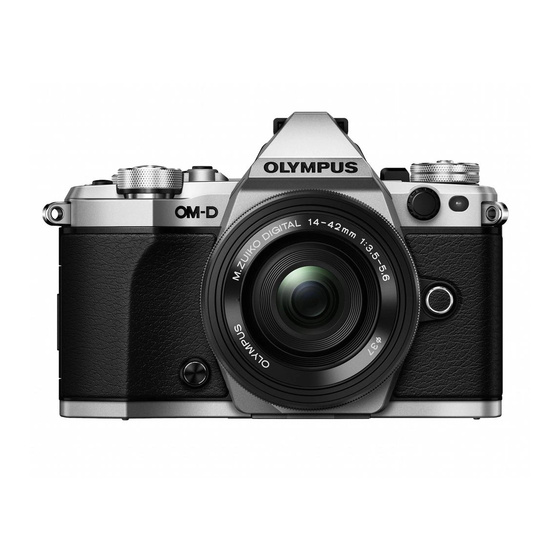
Olympus E-M5 Mark II Kullanıcı Kılavuzu - Sayfa 5
Dijital Kamera Olympus E-M5 Mark II için çevrimiçi göz atın veya pdf Kullanıcı Kılavuzu indirin. Olympus E-M5 Mark II 15 sayfaları. Olympus e m5 1250 kit black camera specifications
Ayrıca Olympus E-M5 Mark II için: Teknik Özellikler (8 sayfalar)

- 1. Camera Setup and Control Reference
- 2. Olympus E-M5II Back View
- 3. Olympus E-M5II (Silver) with M.zuiko ED 12–40Mm F/2.8 PRO Lens
- 4. Charge the Battery
- 5. Super Control Panel or Live View Screen?
- 6. Enable the Custom Menu System
- 7. Switching between the Super Control Panel and Live View Screen with the LV Button
- 8. Initial Camera Configuration
- 9. Camera Control Reference
- 10. Buttons
- 11. Dials
- 12. Levers
- 13. Unusual Icons in Menu Names
6 Chapter 1 – Camera Setup and Control Reference
sections, in which I offer suggestions for the best use of the various setting choices for dif-
ferent styles of photography.
There is an individual chapter for all the visual display touch screens and for each menu
system in the camera, giving you a detailed examination of virtually every aspect of the
camera's control systems.
Because the E-M5II is a camera made primarily for advanced and professional users, this
book assumes you have knowledge of basic things like depth of field; lens focal length and
angle of view; and how the aperture, shutter speed, and ISO sensitivity control exposure.
If you need to brush up on these subjects, you can find a lot of helpful information in
my book Beyond Point-and-Shoot. It assumes absolutely no previous knowledge of pho-
tography and covers the basics for new users of MILC and DSLR cameras. You can find out
more about Beyond Point-and-Shoot at Darrell's website:
http://www.PictureAndPen.com/BeyondPS
I sincerely hope this book is useful to you and greatly expands your understanding of
your new E-M5II camera.
Charge the Battery
When you first open the box that contains your new E-M5II, you should charge the camera's
battery. The battery may have enough life in it for an hour or two of use, so it may not be
critical to charge it immediately. However, for extended configuration and use, it is best to
have a fully charged battery in the camera.
Super Control Panel or Live View Screen?
When you turn your new camera on, the first screen that appears on the monitor is the
Super Control Panel (figure 1.4, image 1). This panel allows you to control things like the
shutter speed, aperture, ISO, autofocus, and several other key camera functions. It is a very
convenient screen, and we will consider it in detail in the chapter Screen Displays for
Camera Control.
When the Super Control Panel is displayed on the monitor, you will need to use the elec-
tronic viewfinder (EVF) to compose your pictures. If you want to use the Live View screen
(figure 1.4, image 3) to compose your pictures instead of the EVF, you will need to press
the LV button (figure 1.4, image 2). Note that on the E-M5II, this is actually the Fn2 but-
ton, which can have any one of 27 different functions assigned to it. The factory-default
assigned function is Live View, and the icon for Live View is engraved on the button top.
Hereafter, we'll refer to this button simply as the LV button.
My camera's Live View screen is displaying my current subject, a battery and some Lego
blocks in my light tent. The LV button toggles between the Super Control Panel and the
Live View screen, as shown in figure 1.4. Regardless of whether the monitor is displaying
