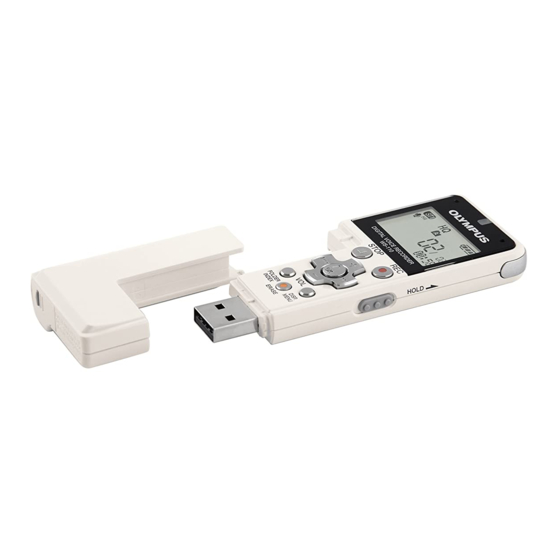
Olympus WS-110 Kullanıcı Kılavuzu - Sayfa 2
Ses Kaydedici Olympus WS-110 için çevrimiçi göz atın veya pdf Kullanıcı Kılavuzu indirin. Olympus WS-110 9 sayfaları. Enregistreuer voval numerique
Ayrıca Olympus WS-110 için: Talimatlar Kılavuzu (15 sayfalar), Talimatlar Kılavuzu (11 sayfalar), Hızlı Başlangıç Kılavuzu (6 sayfalar), (İngilizce) Talimatlar (15 sayfalar), (Fransızca) Mode D'emploi (15 sayfalar)

A3. Setting the time & date:
The recorder puts a useful 'time-date stamp' on recordings but you need the time & date set
correctly. When you first put a battery in the recorder you will be sent to step 7 below.
Otherwise, if you ever need to change the time & date 'manually', simply start from step 1.
1. Switch on, if you haven't already;
2. Press the DISP/MENU button for 2-3 seconds until MENU or 'Rec Mode' appears;
3. Press << until 'Sub Menu' appears;
4. Press OK (you should then see the words 'Main Menu');
5. Press >> until 'Time & Date' appears;
6. Press OK to see the current time;
7. Now use the << and >> buttons to move between the date/time items – see Note (a)
8. When you get to an item that needs changing, use the + or – button to change it;
9. Use the << or >> to move across and change another item if you need to;
10. When you have finished, press OK to save the settings and get out;
11. Finally, press the DISP/MENU button to exit from the menu system;
Notes
a) The date format is US format ie MM.DD'YY (so 03.11'09 = March 11, 2009).
b) To change to UK format (DD.MM'YY), work down to step 7 above, make sure you
are in the date section somewhere (ie left hand half of the row) & press DISP/MENU
once or twice to get the format you want - there are 3 formats to choose from.
Then press OK and DISP/MENU to get out.
c) The time system is the 12-hour clock so shows AM or PM next to the time.
d) If you want to change to the 24-hour clock, work down to step 7 above, make sure
you are in the time section (ie right hand half of the row) then press DISP/MENU.
Then press OK and DISP/MENU to get out.
e) To check the time & date at any point, press and hold the STOP button (when the
recorder is doing nothing). This first shows time & date, then time-left, then repeats.
A4. Setting the Recording Mode
The WS-110 has 3 recording modes.
•
The HQ mode is recommended for everyday use.
•
The SP mode is useful when file size is an issue as it produces smaller sound files -
but of poorer quality than HQ mode.
•
The LP mode gives even smaller sound files but the quality is extremely poor
To see what Mode is currently set, look on the main display when the recorder is on but
doing nothing. It should show HQ, SP or LQ in small letters. To change recording mode:
1. Press the DISP/MENU button for 2-3 seconds then release it;
You should see the words 'Rec Mode;'
2. Press OK (you should then see the current mode);
3. Use the << and >> buttons to move between HQ, SP and LP formats;
4. When you see the mode you want, press OK to save this setting;
5. Finally, press the DISP/MENU button to exit from the menu system;
Mode
Meaining
HQ
High Quality
SP
Standard play
LP
Long play
R Cullimore - Using Olypus ws110 digi-rec v5 - 3 Dec 08
Max recording hours
17.5 hrs
34 hrs
69 hrs
Comments
Medium size files
Smaller files
Tiny files but poor quality
Page 2 of 8
