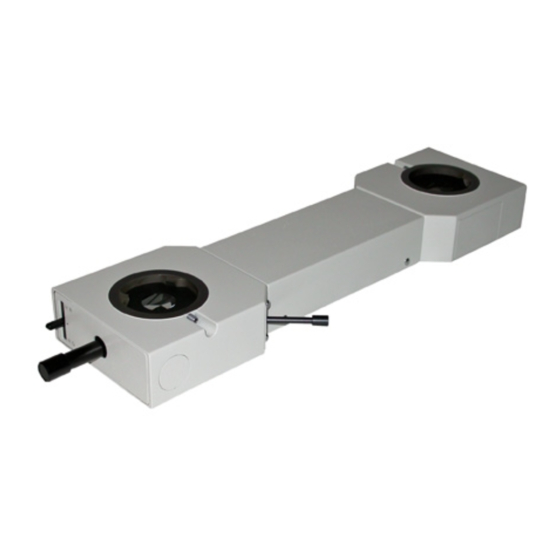
Olympus U-MDO10-E Talimatlar Kılavuzu - Sayfa 14
Laboratuvar Ekipmanları Olympus U-MDO10-E için çevrimiçi göz atın veya pdf Talimatlar Kılavuzu indirin. Olympus U-MDO10-E 18 sayfaları. Discussion attachments

Fig. 9
Loosen the clamping screw of each of the assistant observers'tubes and
attach the assistant observers' tube.
QThe procedure for mounting eyepieces on the tubes is the same as with
other microscopes. However, since the right eyepiece sleeve of the main
and assistant observers' positions is used for pointer focusing, the right
eyepiece sleeve should be provided with either a helicoid or eyepiece or
one with a disk
pÄzö&q
Assistant Observers
Eyepiece
WHlOX or WH12.5X
Helicoid eyepiece
WHlOX-H or WH12.5X-H
Eyepiece
WHlOX or WH12.5X
Helicoid eyepiece
WHlOX-H or WH12.5X-H
m WHlOX,
Cross-WHlOX. etc.
Trinocular
U-TR30-2
l-
Helicoid eyepiece
WHlOX-H or
WH12.5X-H
--L fa
Eyepiece
WHlOX or
WH12.5X
A
Before connecting the AC adapter, turn the pointer brightness control
fully counterclockwise to the Off Position.
Alle
power Cord is vulnerable when bent or twisted. Never subject it
to excessive forte.
AAlways
use the power Cord and AC adapter provided by Olympus. IF
no power Cord is provided with the microscope, please select the
proper power Cord by referring to section "PROPER SELECTION OF
THE POWER SUPPLY CORD" at the end of this instruction manual.
1. Firmly connect the AC adapter's output plug 0 to the AC adapter input
connector 0 on the left side Panel of the discussion attachment.
2. Connect the power Cords connector @ into the AC adapter's input con-
nector 0, then connect the power cord's plug 0 to the wall power outlet
Alle
power Cord should be connected to a grounded, 3conductor
power outlet. If the power outlet is not grounded properly, Olympus
tan no langer Warrant the electrical safety Performance of the equip
ment
