Axminster AW12BM Kullanıcı Kılavuzu - Sayfa 5
Matkap Axminster AW12BM için çevrimiçi göz atın veya pdf Kullanıcı Kılavuzu indirin. Axminster AW12BM 20 sayfaları. 12mm bench morticer

!
Keep the work area as well lit and uncluttered as is practical, this includes
personnel as well as material.
!
Under no circumstances should CHILDREN be allowed in work areas.
It is good practice to leave the machine unplugged until work is about to commence, also make
sure to unplug the machine when it is not in use, or unattended. Always disconnect by pulling on
the plug body and not the cable. Once you are ready to commence work, remove any tools used
in the setting operations (if any) and place safely out of the way. Re-connect the machine.
Carry out a final check e.g. check the cutting tool, drill bit etc., is securely tightened in the
machine, check you have the correct speed and function set, check that the power cable will not
'snag' etc.
Make sure you are comfortable before you start work, balanced, not reaching etc.,
If the work you are carrying out is liable to generate flying grit, dust or chips, wear the
appropriate safety clothing, goggles, gloves, masks etc., If the work operation appears to be
excessively noisy, wear ear-defenders. If you wear your hair in a long style, wearing a cap, safety
helmet, hairnet, even a sweatband, will minimise the possibility of your hair being caught up in
the rotating parts of the tool, likewise, consideration should be given to the removal of rings and
wristwatches, if these are liable to be a 'snag' hazard. Consideration should also be given to
non-slip footwear, etc.
!
Do not work with cutting or boring tools of any description if you are tired, your
attention is wandering or you are being subjected to distraction. A deep cut, a lost
fingertip or worse; is not worth it!
!
Do not use this machine within the designated safety areas of flammable liquid
stores or in areas where there may be volatile gases. There are very expensive, very
specialised machines for working in these areas, THIS IS NOT ONE OF THEM.
Check that cutters, drills etc., are the correct type and size, are undamaged and are kept clean
and sharp, this will maintain their operating performance and lessen the loading on the machine.
Above all, OBSERVE.... make sure you know what is happening around you, and USE YOUR
COMMON SENSE.
!
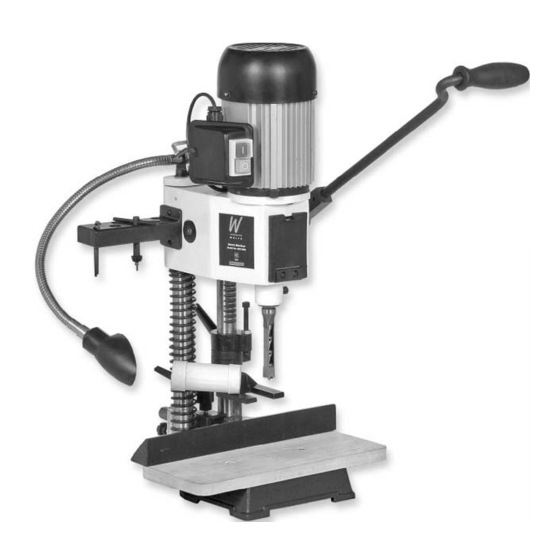
Please take some time to read the section entitled "Identification and Parts
Description" to identify the various parts of your machine so that you familiar with the
terminology we will use to enable you to set up and operate your Morticer safely and
correctly.
1) Place the machine onto a suitable surface, at a height that will enable you to work comfortably.
Locate the machine table and the 2 No. countersunk screws. Place the table on the base and
fasten down using the 2 No. screws. Locate and remove the two caphead bolts from the holes to
the rear left of the tool post column bridge, lift the lamp fitting and locate the mounting bracket
over the holes, re-insert the bolts and tighten securely. Remove the fitted 'P' clip and screw, snap
the clip over the cable and resecure.
General Instructions for 240v Machines (Continued)
Initial Assembly
05
