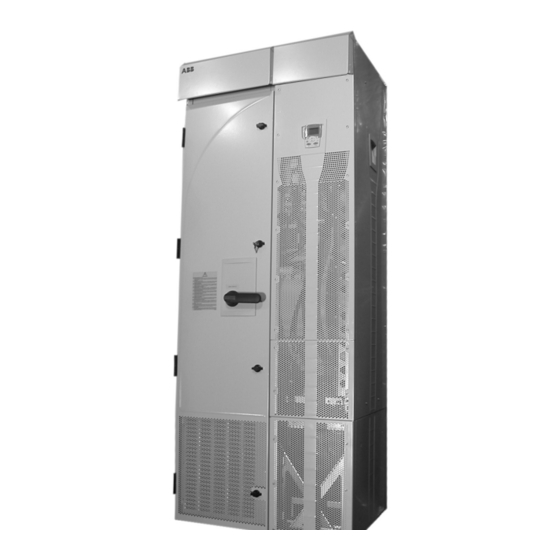
ABB ACS550-U2 Kurulum Ek Kılavuzu - Sayfa 6
Kontrolör ABB ACS550-U2 için çevrimiçi göz atın veya pdf Kurulum Ek Kılavuzu indirin. ABB ACS550-U2 16 sayfaları. Drive it low voltage ac drives 150...550 hp

6
Mounting
Fastening the Unit
See the "Dimensional Drawings" in the "Technical Data" section of this document for
the exact locations of the mounting points.
1. Use at least four screws – two at the front, two at the back – to attach the unit base
plate to the floor.
2. Use at least two screws to attach the back of the enclosure to a wall.
There are two holes available at the top of each: the extension module and the drive
module.
Connecting Power and Control Cables
Additional considerations that apply with the enclosure extension:
• The power cable connection diagram that applies for the ACS550-U2 is:
• Temporarily remove the upper high voltage shield (clear plastic) to gain access to
the power connections in the extension module.
• To avoid metal shavings inside the cabinet, temporarily remove the gland/conduit
plate at the top of the extension module. Then drill holes and mount conduit or
cable fittings as needed.
Installation
Extension Module
OMIO
3
Switch-fuse
Disconnect
3
U1
V1
W1
Control
Wiring
L1 L2
L3 PE
Supply
Installation Supplement for ACS550-U2 Drives
ACS550-02
Drive Module
3
U2
V2
W2
PE
V1
W1
U1
PE
3 ~
Motor
Control
Panel
