Epson 9800 - Stylus Pro Color Inkjet Printer Ambalajdan Çıkarma ve Kurulum Kılavuzu - Sayfa 7

Yazıcı Epson 9800 - Stylus Pro Color Inkjet Printer için çevrimiçi göz atın veya pdf Ambalajdan Çıkarma ve Kurulum Kılavuzu indirin. Epson 9800 - Stylus Pro Color Inkjet Printer 27 sayfaları. Stylus pro 800 series
Ayrıca Epson 9800 - Stylus Pro Color Inkjet Printer için: Broşür ve Teknik Özellikler (8 sayfalar), Başlangıç Kılavuzu (10 sayfalar), Kullanıcı Kılavuzu (11 sayfalar), Hızlı Referans Kılavuzu (12 sayfalar), Sınırlı Garanti (12 sayfalar), Broşür ve Teknik Özellikler (8 sayfalar), Broşür ve Teknik Özellikler (6 sayfalar), Broşür ve Teknik Özellikler (16 sayfalar), Bildirim Sayfası (4 sayfalar)
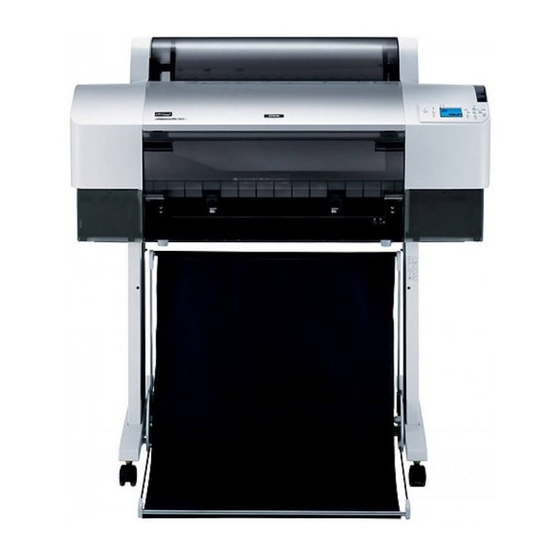
Epson 9800 - Stylus Pro Color Inkjet Printer Ambalajdan Çıkarma ve Kurulum Kılavuzu
Tools:
F
G
H
I
F:
Hex wrench
G:
Hex socket head bolts (4)
H:
Wing nuts, spring washers, and washers(2)
H is for connecting the printer unit to the base unit.
I:
Paper feed support films (5)
Assembling the base unit
c
Caution:
Have two people working on either side to
assemble the base unit (20.5 kg).
1. Hold base upright left (A) and a horizontal
strut as shown. Then fix the strut to the base
using the two hex socket head bolts (G) with
the hex wrench (F).
Note:
❏ An instruction sticker about the setting paper
basket is attached to the front of a base upright
right.
❏ Do not fasten the screws too tight. Leave a
room to adjust the position when you fasten
the screw on the other base upright.
G
A
2. Referring to step 1, secure the other side of the
strut to the base (B).
3. Fasten four screws on the both sides of the
base upright securely.
This completes assembly of the base unit. Before
attaching the paper basket, mount the printer on
the base unit.
Unpacking the printer
c
Caution:
The printer unit is heavy and unwieldy. Have
two people unpack the printer unit, and four
people place the printer unit on top of the base
unit.
1. Remove the roll paper spindle with roll paper,
polystyrene foam, and cardboard cushions
from around the printer.
7