Epson Artisan 800 - All-in-One Printer Hızlı Başlangıç Kılavuzu - Sayfa 3

Yazıcı Epson Artisan 800 - All-in-One Printer için çevrimiçi göz atın veya pdf Hızlı Başlangıç Kılavuzu indirin. Epson Artisan 800 - All-in-One Printer 8 sayfaları. Artisan 700/800 series
Ayrıca Epson Artisan 800 - All-in-One Printer için: Ağ Kurulum Kılavuzu (41 sayfalar), Kullanıcı Kılavuzu (34 sayfalar), Kullanıcı Kılavuzu (38 sayfalar), Kartuşların Değiştirilmesi (2 sayfalar), Teknik Özellikler (2 sayfalar), Ürün Destek Bülteni (5 sayfalar), Ağ Kurulum Kılavuzu (29 sayfalar), Kurulum Bilgileri (3 sayfalar), SSS (4 sayfalar)
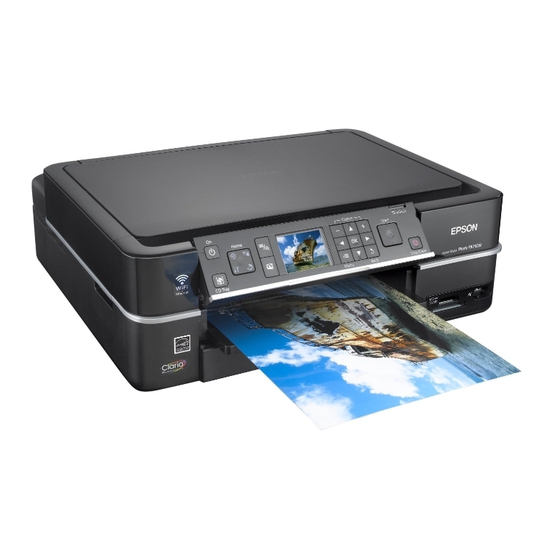
Epson Artisan 800 - All-in-One Printer Hızlı Başlangıç Kılavuzu
4

Install ink cartridges

Note:
Don't load paper before installing the ink cartridges.
1
Raise the scanner.
2
Unpack the ink cartridges.
3
Remove only the yellow tape from each cartridge.
C aution:
Don't remove any other seals from the cartridges.
4
Insert the cartridges in the holder for each color. Press the cartridges
down until they click.
5
Lower the scanner.
6
Wait while ink charges. Charging takes about 5 minutes.
N ote:
Your Artisan 800 Series ships with full cartridges. Part of the ink from
the first cartridges is used for priming the Artisan 800 Series. Replacement
cartridges will print more pages.
Caution:
Don't turn off the Artisan 800 Series while the ink system is
initializing or you'll waste ink.
5

Load paper

The paper cassette has 2 trays. The main tray is for letter-size, legal-size,
or 8 x 10-inch paper. The photo tray is for 4 x 6- or 5 x 7-inch photo paper.
1
Pull out the paper cassette. Then slide back the photo tray and lift it up.