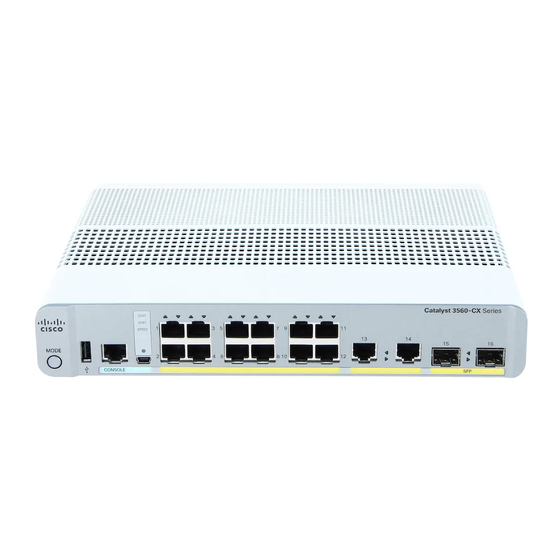
Cisco Catalyst 2960-CX Manuel - Sayfa 4
Anahtar Cisco Catalyst 2960-CX için çevrimiçi göz atın veya pdf Manuel indirin. Cisco Catalyst 2960-CX 24 sayfaları.
Ayrıca Cisco Catalyst 2960-CX için: Ürüne Genel Bakış (15 sayfalar)

- 1. Table of Contents
- 2. Finding Feature Information
- 3. Prerequisites for Switch Stacks
- 4. Restrictions for Switch Stacks
- 5. Information about Switch Stacks
- 6. How to Configure a Switch Stack
- 7. Troubleshooting the Switch Stack
- 8. Monitoring the Device Stack
- 9. Configuration Examples for Switch Stacks
- 10. Additional References for Switch Stacks
Stack Member Numbers
Note
Make sure that you power off the switches that you add to or remove from the switch stack.
After adding or removing stack members, make sure that the switch stack is operating at full bandwidth .
Press the Mode button on a stack member until the Stack mode LED is on. The last two right port LEDs on
all switches in the stack should be green. Depending on the switch model, the last two right ports are 10-Gigabit
Ethernet ports or small form-factor pluggable (SFP) module ports (10/100/1000 ports). If one or both of these
LEDs are not green on any of the switches, the stack is not operating at full bandwidth.
It may take upto 4 seconds for stack convergence when a new stack member is added to the existing switch
stack.
If you remove powered-on members but do not want to partition the stack:
• Power off the switches in the newly created switch stacks.
• Reconnect them to the original switch stack through their stack ports.
• Power on the switches.
Stack Member Numbers
The stack member number (1 to 8) identifies each member in the switch stack. The member number also
determines the interface-level configuration that a stack member uses. You can display the stack member
number by using the show switch EXEC command.
A new, out-of-the-box (one that has not joined a stack or has not been manually assigned a stack member
number) ships with a default stack member number of 1. When it joins a stack, its default stack member
number changes to the lowest available member number in the stack.
Stack members in the same stack cannot have the same stack member number. Every stack member, including
a standalone , retains its member number until you manually change the number or unless the number is
already being used by another member in the stack.
• If you manually change the stack member number by using the switch current-stack-member-number
Managing Switch Stacks
4
• An IP address conflict in your network. If you want the switch stacks to remain separate, change
the IP address or addresses of the newly created switch stacks.
• A MAC address conflict between two members in the stack. You can use the stack-mac update
force command to resolve the conflict.
renumber new-stack-member-number command, the new number goes into effect after that stack member
resets (or after you use the reload slot stack-member-number privileged EXEC command) and only if
that number is not already assigned to any other members in the stack. Another way to change the stack
member number is by changing the _NUMBER environment variable.
If the number is being used by another member in the stack, the selects the lowest available number in
the stack.
If you manually change the number of a stack member and no interface-level configuration is associated
with that new member number, that stack member resets to its default configuration.
You cannot use the switch current-stack-member-number renumber new-stack-member-number command
on a provisioned . If you do, the command is rejected.
Managing Switch Stacks
