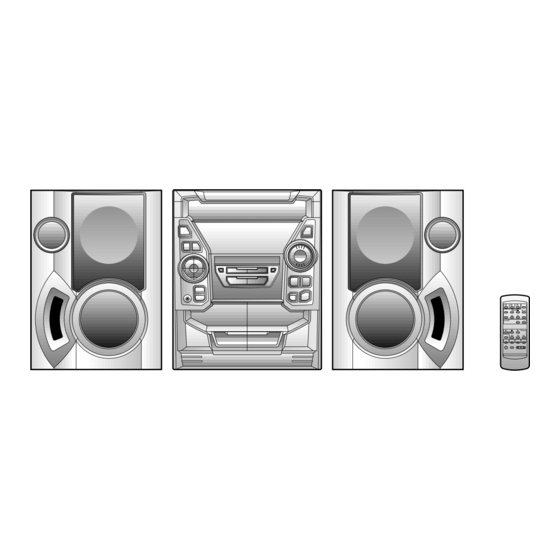
Sharp CD-BA1600 Kullanım Kılavuzu - Sayfa 4
Stereo sistemi Sharp CD-BA1600 için çevrimiçi göz atın veya pdf Kullanım Kılavuzu indirin. Sharp CD-BA1600 18 sayfaları. Sharp mini component system operation manual cd-ba1600
Ayrıca Sharp CD-BA1600 için: Hızlı Kılavuz (2 sayfalar), Servis Kılavuzu (4 sayfalar), Kullanım Kılavuzu (18 sayfalar)

PREPARATION FOR USE
1
2
FM antenna
Right speaker
Red
Black
3
1
2
3
AM loop
antenna
Left speaker
Red
Black
Unplug the AC power cord from the AC outlet before con-
necting or disconnecting any component.
Antenna connection
Connect the antenna wire to the ANTENNA jack.
FM antenna
Position the FM antenna wire in the direction where the strongest
signal can be received.
AM loop antenna
Position the AM loop antenna for optimum reception.
Place the AM loop antenna on a shelf, etc., or attach it to a
stand or wall with screws (not supplied).
Notes:
Do not place the antenna on the main unit as it may result in
noise pickup from the internal digital electronics.
Place the antenna away from the unit for better reception.
If the AM loop antenna and the FM antenna wire are placed
near the AC power cord, interference may result.
Do not connect the attached FM antenna to an outdoor FM
antenna. Otherwise, trouble may occur.
Speaker connection
Connect each speaker wire to the SPEAKER terminals as shown.
Use speakers with an impedance of 6 ohms or more, as lower
impedance speakers can damage the unit.
Connect the black wire to the minus ( ) terminal, and the red
wire to the plus (+) terminal.
Caution:
Do not mistake the right channel for the left channel when
connecting the speakers to the unit.
The right speaker is the one on the right side when you are
facing the front of the unit.
Do not let the bare speaker wires touch each other as this
may damage the amplifier and/or speakers.
Do not allow any objects to fall into or to be placed in the bass
reflex ducts.
Do not stand or sit on the speakers. If the speakers fall or
collapse, you may be injured.
Removing the speaker grilles
1
Remove the lower part of the speaker grille first.
2
Remove the upper part of the speaker grille.
Only the grills on the upper woofers are removable.
Caution:
When the speaker grilles are removed, the speaker diaphragms
are exposed. Make sure nothing comes into contact with the
speaker diaphragms.
Mounting the speaker grilles
Fit the four posts on the speaker grille into the mounting holes
and push them lightly with the palm of your hand to secure.
3
