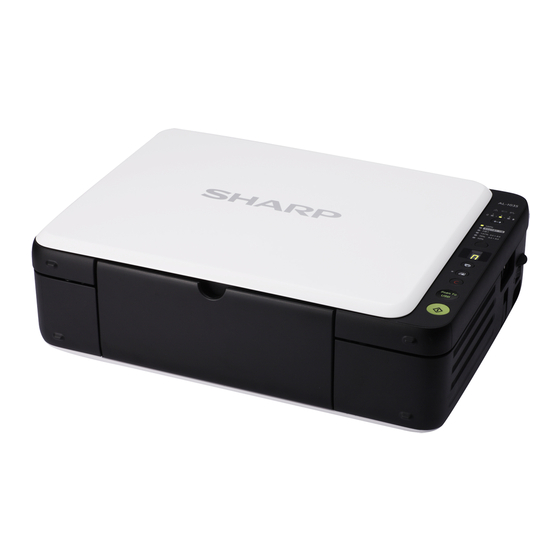
Sharp AL-1035-WH A Başlangıç Kılavuzu - Sayfa 4
Hepsi Bir Arada Yazıcı Sharp AL-1035-WH A için çevrimiçi göz atın veya pdf Başlangıç Kılavuzu indirin. Sharp AL-1035-WH A 28 sayfaları. Digital multifunctional system
Ayrıca Sharp AL-1035-WH A için: Kullanım Kılavuzu (50 sayfalar)

Turn on the power switch. Open the output tray and load paper. The paper loading process is as follows:
1. Normal Copy
(1) Open the document cover, place the original face down on the corner at the right hand side of the document glass ( ).
Close the document cover after placing the origi-
nal, otherwise the area outside of it will be copied
black, causing excessive use of toner.
(2) Making settings for copy
1
Density adjustment: press the [DENSITY] key (
4-5: pencil originals or light-colored text.)
2
Copy ratio: press the [MODE SELECT] key, and select between 100%, A5A4 (141%), A4A5 (70%) and 50% according to your needs.
3
Copy count: press the [COPY COUNT] key (
as "0". If you set wrong number of copies, press the [CLEAR] key (
4
Photo mode: when copying originals of photos, press the [PHOTO MODE] key (
(3) Press the [COPY START] key (
2. ID copy
For copying originals with a smaller size than A5 paper, see the following example of ID card copy:
(1) Open the cover, place ID card front side face down in portrait on the corner at the right side of the document glass ( ).
(2) Press the [MODE SELECT] key and select ID MODE.
(3) Press the [COPY START] key (
tor and ID Copy indicator will blink.
(4) Open the cover and turn the ID card over on the document glass with its back side face down.
Note: the turnover time shall not exceed 30 seconds. If no operation is executed within 30 seconds, the scanned data will be automatically cleared.
(5) Press the [COPY START] key (
1. How to install toner cartridge
1 Lift the scanner document glass
locking handle.
2 Open the cover of the machine.
2. How to remove paper jam
1/2
Push the output tray to the middle
position.
Note: For detailed steps of copying function, please refer to the Operation Guide (in the companion CD-ROM of the machine).
EN2
MACHINE APPEARANCE AND
Preparations for Copy & Print
) to adjust the density level. (1-2: dark originals such as a newspaper; 3: normal density originals;
) to set the number of copies (0-9). There will be one copy even if the number of copies is displayed
) to scan the original and start copying.
), and scan the front side of ID card. When the scan is fi nished, the LED indica-
) to start copying.
1 Remove the protection sheet on the toner
installation position inside the machine
when installing cartridge for the fi rst time.
2 Remove the cartridge wrapping materials.
3 Grasp the cartridge on both sides and shake it
horizontally fi ve or six times.
Open the cover.
Copy
A4
A5
A6
) to reset.
).
1 Hold the cartridge by its grips and insert it
at a 45-degree angle towards the slot.
2 Press it down until a "Click" is heard.
Be careful not to tear the jammed
Take out the toner cartridge and
paper during removal.
drum cartridge.
ID
Document glass scale
Mark
1 Gently lift the support bar at the
green-marks and pull to a half-closed
position,and then gently lift the bar again.
2 Close the cover and connect the power.
1
Reinstall the drum cartridge and toner
cartridge into their bayonet mounts in
the machine.
2
Gently lift the support bar at the green
marks and pull to a half-closed position,
and then gently lift the bar again until the
cover is completely closed.
"Click"
