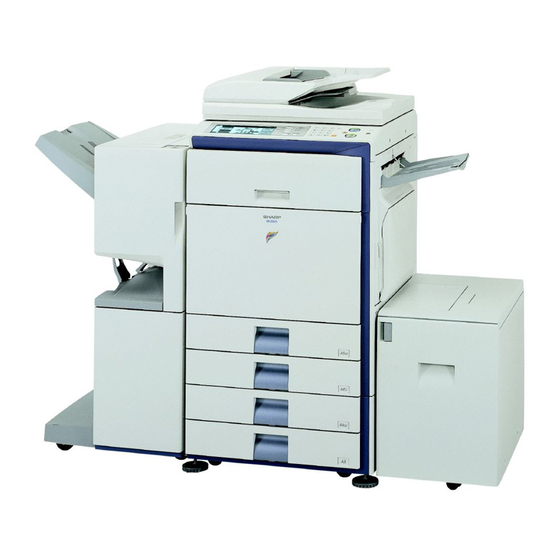
Sharp MX-2300N Guide Yazılım Kurulum Kılavuzu - Sayfa 44
Hepsi Bir Arada Yazıcı Sharp MX-2300N Guide için çevrimiçi göz atın veya pdf Yazılım Kurulum Kılavuzu indirin. Sharp MX-2300N Guide 48 sayfaları. Sharp mx-2700n, mx-2300n mfp - scan to e-mail instructions
Ayrıca Sharp MX-2300N Guide için: Teknik Özellikler (2 sayfalar), Sorun Giderme Kılavuzu (44 sayfalar), Güvenlik Kılavuzu (28 sayfalar), Belge Dosyalama Kılavuzu (47 sayfalar), E-Posta'ya Tarama Talimatları (7 sayfalar)

CHANGING THE PORT
When using the machine in a Windows environment, follow the steps below to change the port when you have changed
the IP address of the machine or have installed the PC-Fax driver when the machine is connected with a USB cable.
1
Click the [start] button and then click
[Printers and Faxes].
In Windows 98/Me/NT 4.0/2000, click the [Start] button,
select [Settings], and then click [Printers].
If [Printers and Faxes] does not appear in the [start]
menu in Windows XP, click the [start] button, click
[Control Panel], click [Printers and Other Hardware],
and then click [Printers and Faxes].
2
Open the printer properties window.
(2)
(3)
(1) Click the printer driver icon of the
machine.
(2) Click the [File] menu.
(3) Select [Properties].
42
(1)
3
Adding or changing a port.
(2)
(1) Click the [Ports] tab.
In Windows 98/Me, click the [Details] tab.
(2) Click the [Add Port] button.
To change to a previously created port such as USB
port, select the desired port (USB001, etc.) from the
list and click the [Apply] button. This changes the port.
(1)
