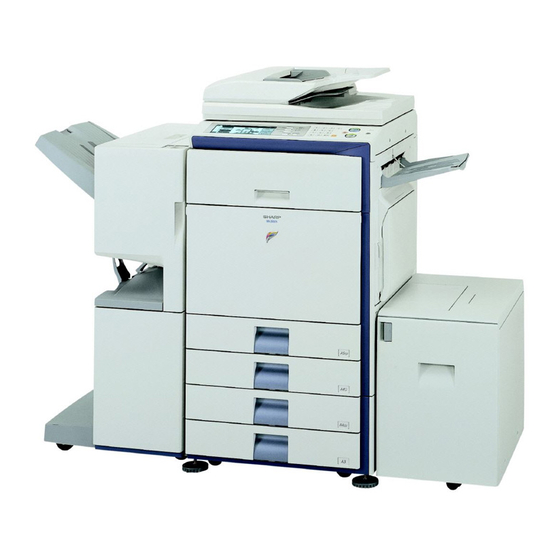
Sharp MX-2700N Guide Yazılım Kurulum Kılavuzu - Sayfa 11
Hepsi Bir Arada Yazıcı Sharp MX-2700N Guide için çevrimiçi göz atın veya pdf Yazılım Kurulum Kılavuzu indirin. Sharp MX-2700N Guide 48 sayfaları. Sharp mx-2700n, mx-2300n mfp - scan to e-mail instructions
Ayrıca Sharp MX-2700N Guide için: Teknik Özellikler (2 sayfalar), Sorun Giderme Kılavuzu (44 sayfalar), Güvenlik Kılavuzu (28 sayfalar), Belge Dosyalama Kılavuzu (47 sayfalar), E-Posta'ya Tarama Talimatları (7 sayfalar)

1
Insert the "Software CD-ROM" into your
computer's CD-ROM drive.
• If you are installing the printer driver, insert the
"Software CD-ROM" that shows "Disc 1" on the front of
the CD-ROM.
• If you are installing the PC-Fax driver, insert the
"Software CD-ROM" that shows "Disc 2" on the front of
the CD-ROM.
2
Click the [start] button, click [My
Computer] (
), and then double-click
the [CD-ROM] icon (
In Windows 98/Me/NT 4.0/2000, double-click [My
Computer] and then double-click the [CD-ROM] icon.
3
Double-click the [Setup] icon (
4
The "SOFTWARE LICENSE" window
will appear. Make sure that you
understand the contents of the license
agreement and then click the [Yes]
button.
You can show the "SOFTWARE LICENSE" in a
different language by selecting the desired language
from the language menu. To install the software in the
selected language, continue the installation with that
language selected.
5
Read the message in the "Welcome"
window and then click the [Next]
button.
).
).
INSTALLING THE PRINTER DRIVER / PC-FAX DRIVER
6
Click the [Printer Driver] button.
• To install the PC-Fax driver, click the [PC-Fax Driver]
button.
• To view information on the software, click the [Display
Readme] button.
7
Click the [Next] button.
8
Click the [Standard installation] button.
When [Custom installation] is selected, you can change
any of the items below. When [Standard installation] is
selected, the installation will take place as indicated below.
• Machine connection method: LPR Direct Print
• Set as default printer: Yes (excluding the PC-Fax
• Printer driver name: Cannot be changed
• PCL printer display fonts: Installed
If you selected [Custom installation], select [LPR
Direct Print] and click the [Next] button.
If you selected other than [LPR Direct Print], see the
following pages:
• IPP: page 12 • Shared printer: page 20
• Connected to this computer: page 15
driver)
9
