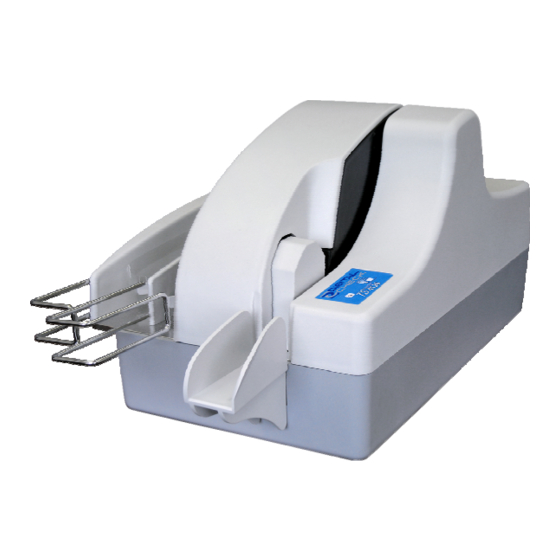
Digital Check TellerScan 4120 Kullanıcı Kılavuzu - Sayfa 5
Tarayıcı Digital Check TellerScan 4120 için çevrimiçi göz atın veya pdf Kullanıcı Kılavuzu indirin. Digital Check TellerScan 4120 20 sayfaları. Branch office check scanner

TellerScan 4120 User Manual Rev 050609
TellerScan® 4120 Installation
Un-Boxing the TellerScan® 4120
Step 1: Remove the scanner from the box by lifting up on the bag. (Fig. 3)
Inkjet Cartridge
USB Cable
Entry Tray
WARNING: Before powering on the scanner, you will want to install the USB driver. See
'Installing the Driver Files' section on page 7 for instructions.
Setting Up The Scanner
1. Place the unit on a flat surface near the PC and away from direct light.
2. Attach Entry Tray by sliding it into open slots by entry pocket.
3. Connect the power cord from the external power supply to the power connector on
the scanner rear deck. (See fig. 4)
4. Place the external power supply in a ventilated area several feet away from the
scanner and connect to an appropriate source of power.
5. Make sure the TellerScan® 4120 is turned off. Verify that the red power indicator on
the Control Panel is not lit. The power switch is on the rear deck. (See Fig. 2)
6. Connect the USB cable by plugging it into the port on the rear deck. Do not turn on
the scanner until the driver has been loaded.
Fig. 4
First, plug the power
connector into the
back of the scanner.
Power Supply
5
Power Supply
Then, plug the
power adaptor
into the wall
receptacle.
