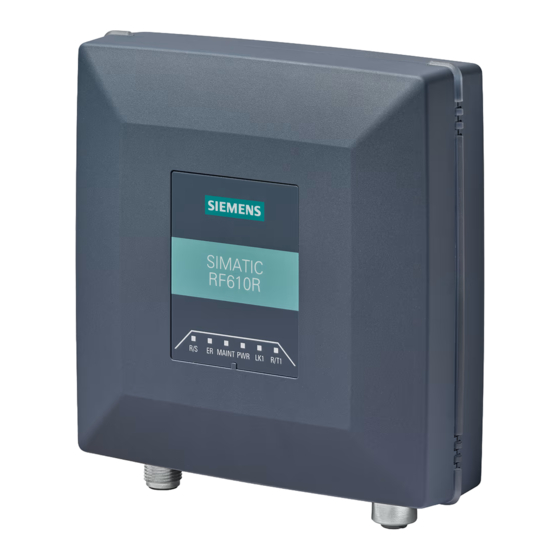
Siemens SIMATIC RF685R Başlarken - Sayfa 4
Endüstriyel Ekipmanlar Siemens SIMATIC RF685R için çevrimiçi göz atın veya pdf Başlarken indirin. Siemens SIMATIC RF685R 27 sayfaları.
Ayrıca Siemens SIMATIC RF685R için: Başlarken (2 sayfalar)

Connecting the reader
Follow the steps below to connect the reader via Ethernet:
1.
Mount the reader.
2.
Connect the reader to a PC or a switch or to the controller using an Ethernet cable.
• For the Ethernet connection of the RF650R reader, use a connecting cable with RJ45 plugs (X1 P1).
• For the Ethernet connection of the RF610R/RF615R/RF680R/RF685R reader, use a connecting cable with
an M12 plug, 4-pin (e.g. X1 P1).
3.
If necessary, connect the reader to one or more external antennas (e.g. ANT1).
4.
Connect the reader to the power supply using the connecting cable
(X80 24 V DC).
The reader is ready for operation when the "R/S" LED is lit/flashes green. If the "R/S" LED is flashing, the reader is waiting
for a connection. If the "R/S" LED is lit constantly, the reader is connected to the controller.
Assigning the IP address / device name
The RF650R reader ships from the factory with the IP address "192.168.0.254". In the factory settings, the RF610R,
RF615R, RF680R and RF685R readers are set to DHCP.
You can assign a (different) IP address to the readers using SINEC PNI. You will find the program on the Siemens
Industry Online Support pages. Alternatively, you can configure the RF610R, RF615R, RF680R and RF685R readers
using STEP 7 Basic / Professional (TIA Portal) as of version 13.
Follow the steps below to assign a new, unique IP address and a unique device name to the reader:
1.
Start SINEC PNI.
2.
In the "Settings" menu, select the "Network adapter" via which the reader is connected to the PC.
3.
Make sure that the "Scan protocol > PROFINET devices" is enabled.
Note: Note that the "Fetch additional information" function can take some time when the network
includes many devices.
4.
Click "Save".
5.
Switch to the "Device list" menu.
6.
Click on the "Start network scan" button in the toolbar.
Reaction: The network is scanned for connected devices and all recognized devices are displayed in the
device list.
7.
Select the desired reader in the device list.
8.
Click on the "Configure device" button in the toolbar.
Reaction: The "Device configuration" window opens.
9.
Enter a new, unique IP address for the reader in the "IP address" input box.
Note: You may have to disable the "DHCP" function beforehand.
10.
Enter the subnet mask of your network in the "Subnet mask" input box.
11.
Switch to the "PROFINET" tab.
12.
Enter a device name in the "PROFINET device name" input box.
13.
Click the "Load" icon to transfer the settings to the reader.
Result: The reader is assigned the new IP address, subnet mask and a new device name.
4
