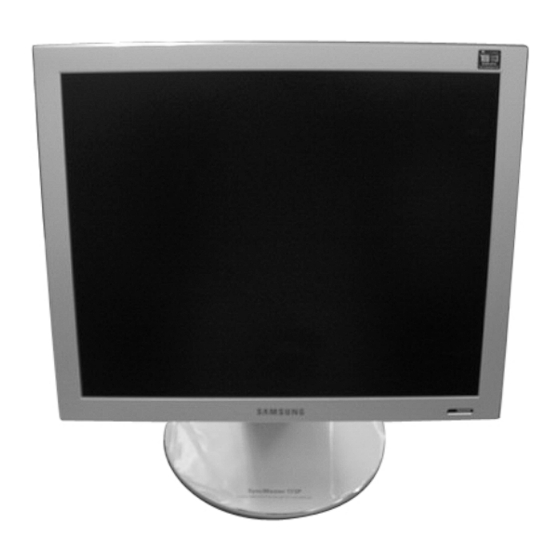
Samsung 193P - SyncMaster - 19" LCD Monitor Servis Kılavuzu - Sayfa 12
Monitör Samsung 193P - SyncMaster - 19" LCD Monitor için çevrimiçi göz atın veya pdf Servis Kılavuzu indirin. Samsung 193P - SyncMaster - 19" LCD Monitor 40 sayfaları. Tft-lcd monitor

- 1. Table of Contents
- 2. Service Manual
- 3. Precautions
- 3. Safety Precautions
- 3. Servicing Precautions
- 4. Product Specifications
- 4. Pin Assignments
- 4. Timing Chart
- 5. Disassembly and Reassembly
- 6. Alignment & Adjustments
- 7. Troubleshooting
- 8. Exploded View & Parts List
- 9. Electrical Parts List
- 10. Block Diagram
- 11. Wiring Diagram
- 12. Schematic Diagrams
4 Alignments and Adjustments
This is to illustrate jig installation required for DDC EDID input. DDC EDID input is necessary to adjust
black level and R, G, B for FPD when replacing AD board. This section also explains how to adjust OSD
when replacing panel or lamp.
4-1 Required Equipment
The following equipment is required for monitor adjustment
• Computer with Windows 95, Windows 98, or NT
• MTI-2031 DDC Manager Jig
4-2 Automatic Color Adjustment
Use 16-grey or black and white pattern for video input.
1. With the monitor powered off, press power key and hold until it beeps 10 times.
2. Power the monitor on for screend display.
3. Press the power key and hold until the following figure displays.
Figure 4-1.
4. Press power key and hold until Auto Color is selected.
5. Press power key again to execute Auto Color.
4-3 DDC EDID Data Input
1. Input DDC EDID data when replacing AD PCB.
2. Receive/Download the proper DDC file for the model from HQ quality control department.
Install the below jig (Figure 4-3) and enter the data.
DI19PS
Figure 4-2.
4-1
