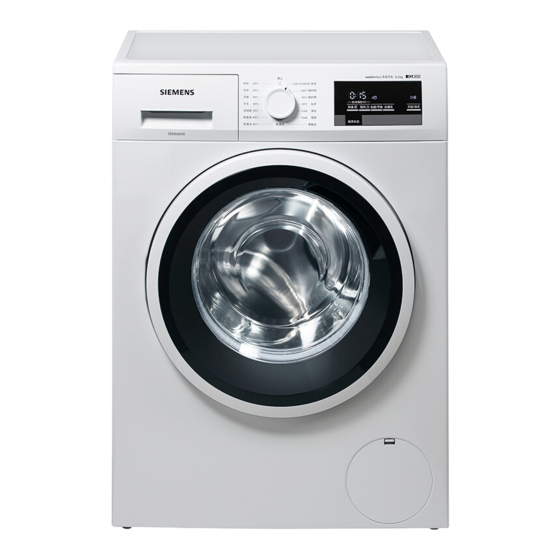
Siemens XQG62-WS10K1R81W Kullanım Kılavuzu ve Kurulum Talimatları - Sayfa 29
Yıkayıcı Siemens XQG62-WS10K1R81W için çevrimiçi göz atın veya pdf Kullanım Kılavuzu ve Kurulum Talimatları indirin. Siemens XQG62-WS10K1R81W 34 sayfaları.
Ayrıca Siemens XQG62-WS10K1R81W için: Kullanım Kılavuzu ve Kurulum Talimatları (40 sayfalar)

Installation area
Stability is important to prevent
Note:
the washing machine from wandering!
The installation area must be firm
■
and level.
Soft floors/floor coverings are not
■
suitable.
Installing the appliance on
a base or on a wooden joist
ceiling
:
Warning
The appliance may be damaged!
The washing machine may wander
during the spin cycle and topple/fall off
the base.
Always secure the washing machine
feet with fixing brackets.
Holding brackets is available from
dealer/customer servive.
If installing on a wooden joist
Note:
ceiling:
If possible, install the washing
■
machine in a corner.
Screw a water-resistant wooden
■
panel (min. 30 mm thick) to the floor.
Installing the appliance under/
between units
:
Warning
Danger of death from electric shock!
Danger of death if live parts are
touched.
The appliance cover plate must not be
removed.
Build under/build in before connection
to the power supply.
If installing on a wooden joist
Note:
ceiling:
The corner width of installation area
■
should at least be 60 cm.
Installation and connection
Install washer machine only under a
■
continuous worktop connected firmly
to the adjacent cupboards.
Removing the transportation
protection devices
Caution!
The appliance may be damaged!
Transit bolts which have not been
removed may damage e.g. the drum
while the washing machine is running.
Before using the appliance for the first
time, remove the 4 transportation
protection devices completely and keep
in a safe place.
Caution!
The appliance may be damaged!
To prevent damage in transit when
transporting the appliance
subsequently, always re-install the
transit bolts prior to transportation.
Keep screw and sleeve screwed
together.
Take the hoses out of the holders.
1.
Loosen and remove all
2.
4 transportation lock screws.
en
29
