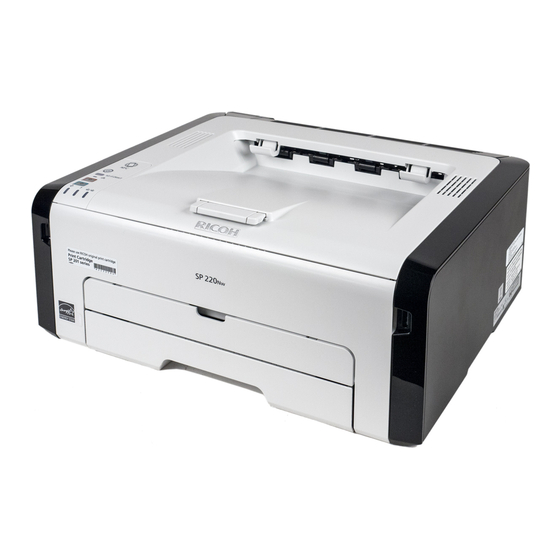
Ricoh SP 220NW Kurulum Kılavuzu - Sayfa 8
Yazıcı Ricoh SP 220NW için çevrimiçi göz atın veya pdf Kurulum Kılavuzu indirin. Ricoh SP 220NW 13 sayfaları.

Easy Setup Using the WPS Button
● Before doing the following procedure, install the printer
driver according to the procedure on page 4
"Connecting the Machine (USB/Network)".
● Make sure the Ethernet cable is not connected to the
machine.
● In Steps 10 to 11, configure each setting within two
minutes.
The following item is necessary to set up a wireless
connection.
● Router (access point)
1.
Check that the router (access point) is working correctly.
2.
On the [Start] menu in your computer, point to [All
Programs], click [SP 220 Series Software Utilities], and then
click [Smart Organizing Monitor for SP 220 Series].
3.
Click [User Tools] tab.
4.
Click [Printer Configuration].
5.
Enter the access code, and then click [OK].
The default access code is "Admin".
6.
On the [Network 1] tab, select [Active] for [Wireless
Function:].
7.
Click [Apply], and then click [OK].
The machine restarts.
8.
Repeat steps 3 to 5 to open the [Printer Configuration]
screen.
6
9.
On the [Wireless] tab, select [Setup with WPS] for
[Configuration Method].
10. Click [Connect].
11. Press the WPS button on the router (access point) within
two minutes.
WPS
For details about how to use the WPS button, refer to the
manuals for the router (access point).
12. Check the result.
Connection has succeeded:
The Power indicator lights up.
Connection has failed:
All the indicators start to flash simultaneously, and after
30 seconds, only the Power indicator lights up. Try the
connection again.
13. Configuring the Wi-Fi settings is complete.
CHV607
