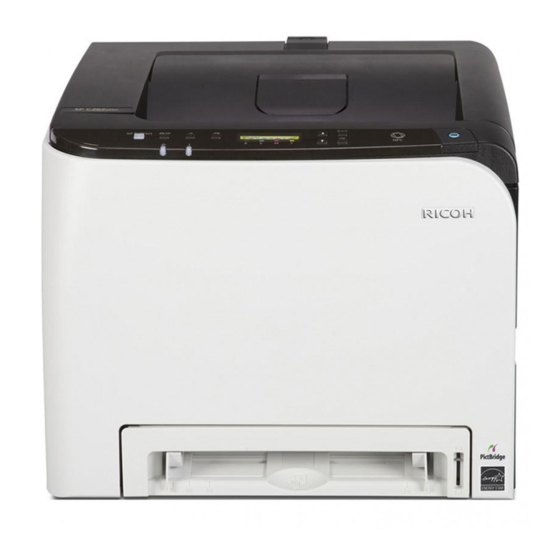
Ricoh SP C262DNw Kurulum Kılavuzu - Sayfa 11
Yazıcı Ricoh SP C262DNw için çevrimiçi göz atın veya pdf Kurulum Kılavuzu indirin. Ricoh SP C262DNw 16 sayfaları.

- 1. Setup Guide
- 2. Setting up the Machine
- 3. Installing the Software
- 4. Check How the Computer Is Connected
- 5. Use the Machine from a Smart Device
- 6. Connecting the Machine (Usb/Network)
- 7. Connecting the Machine Via Wi-Fi
- 8. Easy Setup Using the CD-ROM
- 9. Easy Setup Using the WPS Button
- 10. Easy Setup Using a PIN Code
- 11. Control Panel Sheet
Easy Setup Using the WPS Button
● Before doing the following procedure, install the printer
driver according to the procedure on page 5
"Connecting the Machine (USB/Network)".
● Make sure the Ethernet cable is not connected to the
machine.
● In Steps 15 to 17, configure each setting within two
minutes.
The following item is necessary to set up a wireless
connection.
● Router (access point)
1.
Check that the router (access point) is working correctly.
2.
Press the [Menu] key.
3.
Press the [ ] or [ ] key to select [Host Interface], and then
press the [OK] key.
4.
Press the [ ] or [ ] key to select [Network Setting], and
then press the [OK] key.
5.
Press the [ ] or [ ] key to select [Wi-Fi Config.], and then
press the [OK] key.
6.
Press the [ ] or [ ] key to select [Wi-Fi], and then press
the [OK] key.
7.
Press the [ ] or [ ] key to select [Active], and then press
the [OK] key.
8.
Press the [Menu] key to return to the Initial screen.
9.
Turn off the machine, and then turn it back on.
10. Press the [Menu] key.
DUE129
DUE129
11. Press the [ ] or [ ] key to select [Host Interface], and then
press the [OK] key.
12. Press the [ ] or [ ] key to select [Network Setting], and
then press the [OK] key.
13. Press the [ ] or [ ] key to select [Wi-Fi Config.], and then
press the [OK] key.
14. Press the [ ] or [ ] key to select [WPS], and then press the
[OK] key.
15. Press the [ ] or [ ] key to select [PBC], and then press the
[OK] key.
"Connecting..." appears, and the machine starts to connect in
PBC method.
16. Press the WPS button on the router (access point) within
two minutes.
WPS
• For details about how to use the WPS button, refer to the manuals for
the router (access point).
17. Check the result.
Connection has succeeded:
• Pressthe [Menu] key to return to the initial screen.
Connection has failed:
• Press the [Back] key to return to the screen displayed in Step
15. Check the configuration for the router (access point), then
try the connection again.
18. Configuring the Wi-Fi settings is complete.
CHV607
9
