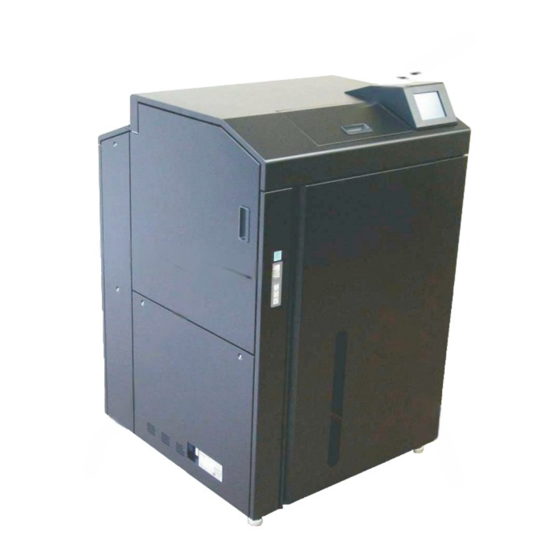
Ricoh InfoPrint 75 Kullanıcı Kılavuzu - Sayfa 23
Yazıcı Aksesuarları Ricoh InfoPrint 75 için çevrimiçi göz atın veya pdf Kullanıcı Kılavuzu indirin. Ricoh InfoPrint 75 50 sayfaları. Printer driver

2.6
Changing Print Port
If you need to change the printer destination due to a change in IP address or something similar, or you save data
generated by a printer driver in a file, use the following steps to change the printer connection port.
1
Log on with the user name with Administrator
privileges.
2
Display [Ports], following the steps outlined in
"2.4 Displaying Properties"
2.6.1
Adding New LPR Port
1
Click [Add Port] under [Port] properties.
2
Select [Standard TCP/IP Port], and then click the
[New Port] button.
Even if [LPR Port] is displayed in the list, be sure
to select [Standard TCP/IP Port].
When the port cannot be added, after licking
[Change Sharing Option] on the [Sharing] tab,
and then return to
3
Click the [Next] button.
1
again.
OG
Chapter 2 Print from Windows Vista/Server 2008/7/Server 2008 R2
3
Select the connection port from the [Print Port] list
and click the [OK] button to close properties.
To save printing data generated by the printer driver
in a file, select [FILE]. To add a new connection port,
click [Add Port].
4
Enter the printer's IP address in the [Printer Name or
IP Address] field, and then click the [Next] button.
Under [Port Name], you can also change to any
name.
A
01
2-13
