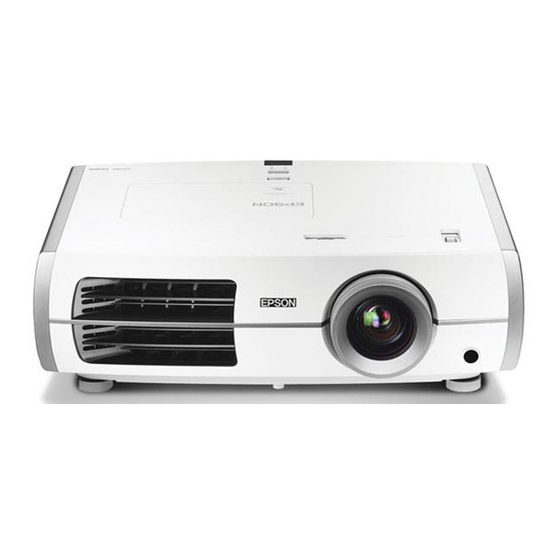
Epson Ensemble HD 8100 - Home Cinema System Şematik Diyagram - Sayfa 7
Projektör Epson Ensemble HD 8100 - Home Cinema System için çevrimiçi göz atın veya pdf Şematik Diyagram indirin. Epson Ensemble HD 8100 - Home Cinema System 9 sayfaları. Epson home cinema system instructions manual

13. Refer all servicing to qualified service personnel. Servicing is required when the apparatus has been
damaged in any way, such as power-supply cord or plug is damaged, liquid has been spilled or objects have
fallen into the apparatus, the apparatus has been exposed to rain or moisture, does not operate normally, or
has been dropped.
Additional Safety Instructions
• Safety measures must be practiced at all times during the installation of the home theater system. Proper
installation procedures, as outlined in these instructions, must be adhered to. Failure to do so could result
in serious personal injury or death.
• The home theater system should be installed by a professional audio/video installer or other qualified
professional. Epson cannot provide advice concerning construction practices or building codes in your area.
• Prior to installing the home theater system, read the installation instructions completely. Keep these
instructions in an easily accessible place for future reference.
• Do not attempt to install this system if you have any doubts as to its proper assembly and installation.
• Use proper equipment to prevent personal injury or property damage, such as a ladder for reaching high
places or a stud finder to locate the center of studs.
• The included mounting hardware is intended for use with wooden studs/joists or solid concrete
construction. The hardware is not intended to secure any part of the system to metal studs, wallboard or
plasterboard, or cinder block wall construction.
• Do not attempt to use hollow-wall anchors, screws, or similar mounting hardware to mount the projector
or screen to wallboard or plasterboard. The projector and screen cannot be safely mounted like that. You
must mount the projector and screen to wooden studs/joists or to a solid concrete surface, as outlined in
these instructions.
• When installing the mounting hardware in concrete, verify that the concrete is at least the same depth as
the anchors, and that the anchors will not rest against a layer of plasterboard or other material. Concrete
must meet ASTM C-90 specifications and be 2000 psi density minimum. Lighter-density concrete may
not hold the anchors.
• The wall or ceiling structure on which the screen is mounted must be capable of safely supporting the
weight of the screen (approximately 100 pounds). Likewise, the ceiling structure must be capable of safely
supporting the weight of the projector assembly (approximately 50 pounds). If the structures cannot
support these weights, they must be reinforced.
• When mounting the equipment on a wall or ceiling that contains studs or joists, the exact center of the
studs or joists must be confirmed prior to installation.
• Do not install the projector or screen where it may be subject to impact.
• Do not install the projector or screen in direct sunlight or near a heater vent, fireplace, or other source of heat.
• Two persons are required to lift the screen onto its mounting brackets. It is recommended that a second
person should also assist in performing other parts of the installation, such as mounting the projector and
