Acdeos AXS FL Yoğunlaştırılmış Kılavuz - Sayfa 4
Otomobil Aksesuarları Acdeos AXS FL için çevrimiçi göz atın veya pdf Yoğunlaştırılmış Kılavuz indirin. Acdeos AXS FL 17 sayfaları. Fixed step
Ayrıca Acdeos AXS FL için: Kurulum Talimatı (7 sayfalar)

3
Mounting / Installation
The installation can only be done by a company that is well known with bodybuilding or
modifying vehicles, which has the trained technical staff to do this job.
3.1
Mechanical Installation
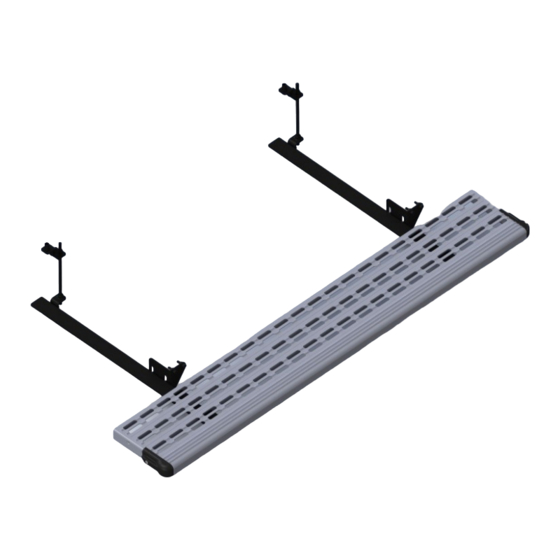
For mounting the step you do not need to make any large vehicle adaptations. The step is
placed under the floor in the middle of the front, middle or rear door.
Chassis modifications are not needed.
Warning: Changing the vehicle chassis affects the strength of the vehicle. This kind of
changes is only allowed after approval of the vehicle builder / constructor. You need to
consult the vehicle builder for these kinds of changes. Acdeos cannot be made
responsible or held accountable for any vehicle / chassis changes.
Exact measurements of the product should be taken from the official installation drawings. Ask
Acdeos for the last revision and official installation drawing. Figures, drawings in this manual
are only for indication.
Installation:
Create a safe working condition. Lift the vehicle to the appropriate working height.
Define the place where you want to mount the step under the vehicle. Make sure the cassette
can be mounted on the required position without colliding with the chassis or other vehicle
parts. Make sure that the step is not to close to hot parts like the exhaust system. This
can damage the step.
The picture below gives the basic principles for mounting the step.
Define the place for the 4 mounting bolts on the front. The holes for this fixation should be
drilled in the lower flange of the outer chassis bar of the vehicle. Drill the holes ø6.5 mm.
Always protect all drilled holes with zinc spray. Make sure there is enough material in the
flange under the hole. Place the step with two bolts at the flange and support it at the rear.
4
