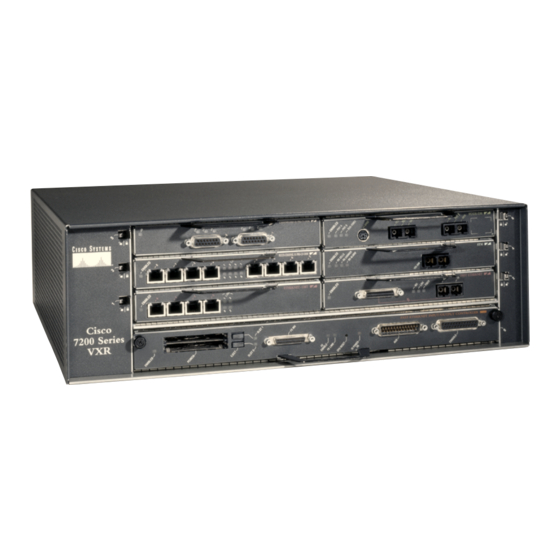
Cisco 7200 VXR Series Hızlı Başlangıç Kılavuzu - Sayfa 37
Kablosuz Erişim Noktası Cisco 7200 VXR Series için çevrimiçi göz atın veya pdf Hızlı Başlangıç Kılavuzu indirin. Cisco 7200 VXR Series 48 sayfaları. Preparing for installation
Ayrıca Cisco 7200 VXR Series için: Veri Sayfası (12 sayfalar), Manuel (14 sayfalar)

Note
If you have difficulty installing a processing engine or I/O controller in the lowest slot of a Cisco 7200 VXR
router that is rack-mounted, remove the port adapters, processing engine and I/O controller from the chassis
and reinstall them. Install the processing engine and I/O controller in the lowest slots first, then populate the
slots above them, in a bottom-to-top order.
Step 5
Grasp the handle and pull the NPE or NSE from the chassis.
Step 6
Insert the NPE or NSE and tighten the captive installation screws.
Step 7
If you are replacing an NPE-G1, install the cable-management brackets and cables. See Figure 6 and Figure 9.
Step 8
Connect the router to the power source and power up the router.
See the Network Processing Engine or Network Services Engine Installation and Configuration publication at
http://www.cisco.com/en/US/products/hw/routers/ps341/products_installation_guide_book09186a0080551c34.html.
Replace the I/O Controller
Figure 19
Replacing the I/O Controller
Cisco 7200
Series
2
1
I/O controller
Note
Before powering down the router, use the copy running-config tftp command to save the router's running configuration
to a TFTP file server.
Step 1
Power off the router.
Step 2
Disconnect the router from the power source.
Step 3
Remove any I/O controller cables.
Step 4
On the I/O controller (1), unscrew the captive installation screws (2), grasp the handle, and pull the I/O controller from
the chassis.
ETHERNET 10BT
1
TOKEN RING
ETHERNET-10BFL
FAST ETHERNET INPUT/OUTPUT CONTROLLER
2
2
Captive installation screws
37
