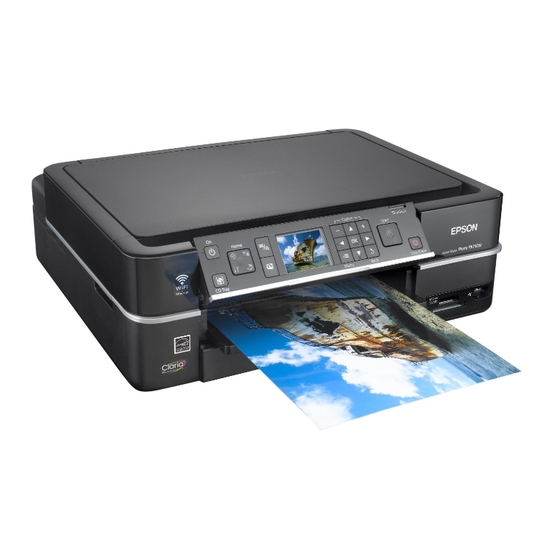
Epson Artisan 800 - All-in-One Printer Hızlı Başlangıç Kılavuzu - Sayfa 5

Hepsi Bir Arada Yazıcı Epson Artisan 800 - All-in-One Printer için çevrimiçi göz atın veya pdf Hızlı Başlangıç Kılavuzu indirin. Epson Artisan 800 - All-in-One Printer 8 sayfaları. Artisan 700/800 series
Ayrıca Epson Artisan 800 - All-in-One Printer için: Ağ Kurulum Kılavuzu (41 sayfalar), Kullanıcı Kılavuzu (34 sayfalar), Kullanıcı Kılavuzu (38 sayfalar), Kartuşların Değiştirilmesi (2 sayfalar), Teknik Özellikler (2 sayfalar), Ürün Destek Bülteni (5 sayfalar), Ağ Kurulum Kılavuzu (29 sayfalar), Kurulum Bilgileri (3 sayfalar), SSS (4 sayfalar)

Epson Artisan 800 - All-in-One Printer Hızlı Başlangıç Kılavuzu
6

Connect the phone cord

To use the Artisan 800 Series for faxing, connect the included phone cord from
a telephone wall jack to the LINE port on the Artisan 800 Series. To connect a
telephone or answering machine, see the Basics Guide for instructions.
Note:
If you're connecting to a DSL phone line, you must use a DSL filter or you won't
be able to fax. Contact your DSL provider for the necessary filter.
7

Choose your connection

Network (wireless or wired)
See your Network Installation Guide.
You can't install your software as
described below.
OR

USB connection

Make sure you have a USB cable (not included).
Then follow the steps below.
USB connection
Follow these steps to connect the Artisan 800 Series directly to your computer
using a USB cable (not included).
Windows
1
Make sure the Artisan 800 Series is
NOT CONNECTED to your computer.
Note:
If you see a Found New Hardware
screen, click
USB cable. You can't install your software
that way.
2
Insert the Artisan 800 Series software CD.
With Windows Vista, if you see the AutoPlay
window, click Run Epsetup.exe. When you see the
User Account Control screen, click Continue.
3
Click Install and follow the on-screen instructions.
Cancel
and disconnect the