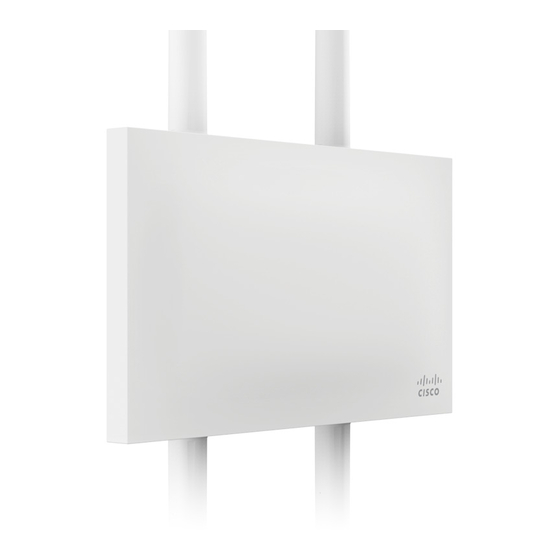
Cisco MERAKI MR72 Donanım Kurulum Kılavuzu - Sayfa 10
Kablosuz Erişim Noktası Cisco MERAKI MR72 için çevrimiçi göz atın veya pdf Donanım Kurulum Kılavuzu indirin. Cisco MERAKI MR72 16 sayfaları.
Ayrıca Cisco MERAKI MR72 için: Kurulum Kılavuzu (20 sayfalar)

4.2 Install the MR72
For most mounting scenarios, the MR72 mount plate provides a quick,
simple, and flexible means of mounting your device. The installation
should be done in two steps. First, install the mount plate to your
selected location. Then attach the MR72 to the mount plate.
4.2.1 Remove the Mount Plate from the Access Point
Before installing the mount plate, you must remove it from the back of
the access point.
1. Unscrew the mount plate attachment screw.
2. Lift the mount plate release tab upwards.
3. While holding the mount plate release tab up, slide the mount plate
off the access point.
4.2.2 Attach the Mount Plate
The MR72 mount plate can be used to install your access point in a
wide range of scenarios.
4.2.2.1 Wall or Solid Ceiling Mount Using Mount Plate
Using included wall anchors and screws, attach the mount plate to
your mounting wall or ceiling.
It is recommended that the MR72 be mounted to a wall or solid ceiling
using the mount plate for physical security reasons.
4.2.2.2 Pole Mount Using Mount Plate
Use the included mounting straps to mount the AP to a pole less than
3.9" in diameter. Thread the mounting straps through the mounting
strap slots to secure the mount plate in a horizontal or vertical
