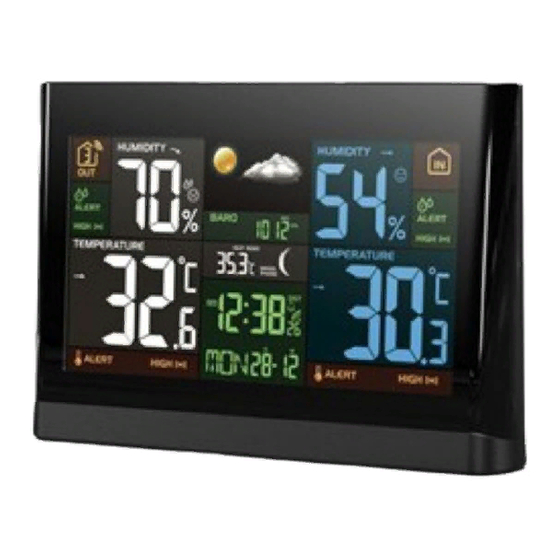
DigiTech XC0416 Kullanıcı Kılavuzu
Hava İstasyonu DigiTech XC0416 için çevrimiçi göz atın veya pdf Kullanıcı Kılavuzu indirin. DigiTech XC0416 4 sayfaları. Temperature/humidity weather station with 7” colour display

Thank you for selecting this delicate wireless colour weather station with colour display.
Utmost care has gone into the design and manufacture of the clock. Please read the
instructions carefully according to the version you purchased and keep the manual well
for future reference.
OVERVIEW
MAIN UNIT
1
2
3
8
9
10
11
12 13
14
1.
[ TIME SET ] key
- In normal mode, press and hold for 2 seconds to enter time setting mode.
- In time setting mode, press to step next setting of time and calendar.
2.
[ ALARM ] key
- In normal mode, press to show the alarm time and turn on/off the alarm.
- In normal mode, press and hold for 2 seconds to enter alarm setting mode.
- In alarm setting mode, press to step next setting of alarm.
- When alarm is sounding, press to stop the current alarm.
- In alert setting mode, press to toggle the HI / LO alert on/off.
3.
[ ALERT ] key
- In normal mode, press and hold for 2 seconds to enter temperature alert setting
mode.
- In alert setting mode, press once to switch between setting options.
-
to normal mode.
4.
[ ALARM / SNOOZE ] key
- When alarm is sounding, press to stop the current alarm and enter snooze.
- When alarm is sounding, press and hold for 2 seconds to stop the current alarm, the
clock will sound again in the next day.
4
5
6
7
18
15 16 17
5.
[ CHANNEL / + ] key
- In normal mode, press to switch between Channel 1~8 of outdoor sensors.
- In normal mode, press and hold for 2 seconds to enter auto-cycle mode of Channel
1~8 temperature readings.
- During auto-cycle mode, press once to return to normal mode.
- In setting mode, press to increase the setting values.
6.
[ MEM / - ] key
- In normal mode, press to check maximum and minimum temperature reading.
- During max or min record is displayed, press and hold for 2 seconds to erase the
current records.
- In setting mode, press to decrease the setting values.
7.
[ INDEX ] key
- In normal mode, press to toggle the between dew point and heat index
8.
LCD display
9.
Battery compartment
- Accommodates 3 x AAA batteries for backup.
10. Power jack
11. Wall mount hole
12. [ HISTORY ] key
- In normal mode, press to view the past 24 hour weather records.
13. [ HI / LO / AUTO ] sliding switch
- Slide to the [ HI ] position for brighter backlight.
- Slide to the [ LO ] position for dim backlight.
- Slide to the [ AUTO ] position for Auto backlight that depends on the environment
brightness.
14. [ SENSOR ] key
- Press once to enter sensor receiving mode.
15. [ BARO ] key
- In normal mode, press to switch baro pressure unit
- In normal mode, press and hold for 2 seconds to enter rel/abs mode
16. [ RESET ] key
- Press once to perform overall function reset.
- In case of malfunction, the unit may require reset.
17. [ °C / °F ] key
- In normal mode, press to switch between °C /°F format.
18. Extend wall mount holder
- To mount the main unit in horizontal viewing angle
LCD DISPLAY
1
2
3
4
1.
Weather forecast and baro reading section
2.
Outdoor humidity section
3.
Outdoor temperature section
4.
Time, calendar and weather index display section
5.
Indoor humidity section
6.
Indoor temperature section
WIRELESS HYGRO-THERMO SENSOR
1
1.
Transmission status LED
4.
2.
[ RESET ] key
3.
Wall mounting holder
5.
2
[ CHANNEL ] slide switch
- Assign the sensor to Channel 1,2,3,4,5,6,7 or 8.
Battery compartment
- Accommodates 2 x AA size batteries.
5
6
3
4
5
