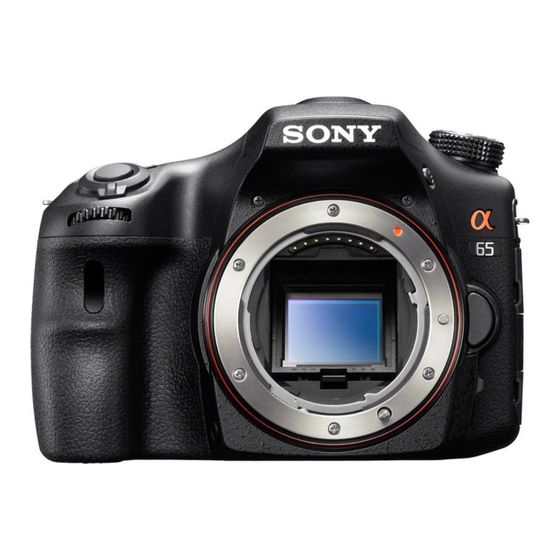
Sony SLT-A65M Servis Kılavuzu - Sayfa 7
Dijital Kamera Sony SLT-A65M için çevrimiçi göz atın veya pdf Servis Kılavuzu indirin. Sony SLT-A65M 36 sayfaları.

Ver. 1.2 2012.04
The changed portions from
Ver. 1.1 are shown in blue.
1-3. PRECAUTION ON REPLACING THE AM-026 BOARD
Destination Data
When you replace to the repairing board, the written destination data of repairing board also might be changed to original setting.
USB Serial No.
The set is shipped with a unique ID (USB Serial No.) written in it.
This ID has not been written in a new board for service, and therefore it must be entered after the board replacement.
1-4. METHOD FOR CHECKING THE AS SLIDER UNIT (870)
Make sure to confirm below before replacing the AS Slider B Assy or the AS Holder Actuator Assy.
(1) Remove the CV Rear Cover Assy (870), and temporally mount the AS Slider Unit (870).
(2) Set the AS Slider Unit (870) upwards as shown in figure, and put it on a stable place.
(3) Select "Slider Unit Check" of the adjustment software, and then confirm the movement to the directions of Pitch and Yaw, and if an error occurs,
replace it with the component part corresponding to the movement.
SLT-A65/A65K/A65L/A65M/A65V/A65VK/A65VL/A65VM/A65VX/A65VY/A65X/A65Y_L2
1-5. METHOD FOR ADJUSTING THE TEBURE REVISE
Make sure to confirm below after replacing the AS Slider B Assy or the AS Holder Actuator Assy.
(1) Remove the CV Rear Cover Assy (870), temporally mount the AS Slider Unit (870) mounted with the Imager Sensor, and then set up the camera
body and hold the AS Slider Unit (870) as shown in figure.
(2) Select "Slider Unit Check" of the adjustment software, and then confirm if the result is OK.
(3) Select "Tebure Revise Adj." of the adjustment software, and then confirm if the result is OK.
(4) Mount the AS Slider Unit (870) to the camera.
1-3
– ENGLISH –
