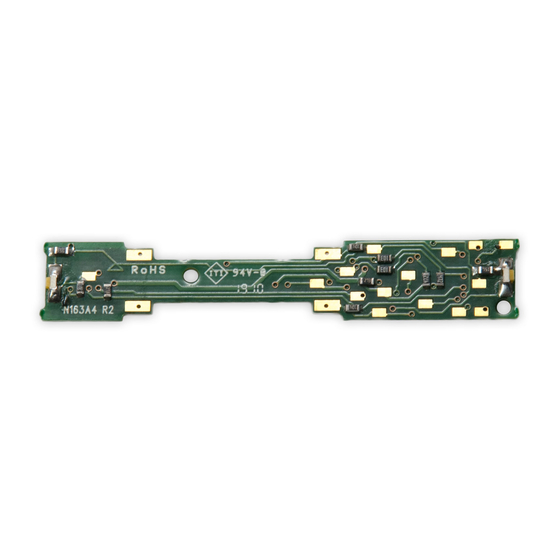
Digitrax DN163A3 Manuel - Sayfa 3
Medya Dönüştürücü Digitrax DN163A3 için çevrimiçi göz atın veya pdf Manuel indirin. Digitrax DN163A3 12 sayfaları.

3. Installation of the
DN163A3 decoder is the
reverse of the removal
sequence. With the
frames halves still loos-
ened, slide the DCC
decoder into position as
shown. (Figure 2)
4. Confirm the DN163A3
decoder is oriented as
shown (Figure 3) The
decoder should be placed
component side down,
with the surface mounted
LEDs on top of the PCB.
Finally retighten the
frame screws to secure
the decoder. If done cor-
rectly, the decoder should
fit snugly.
©2007 Digitrax, Inc
4 4 5 5 0 0 C C e e m m e e t t e e r r y y S S t t r r e e e e t t
N N o o r r c c r r o o s s s s , , G G A A U U S S A A 3 3 0 0 0 0 7 7 1 1
w w w w w w . . d d i i g g i i t t r r a a x x . . c c o o m m
DCC Decoder installation
Figure 2.
Retighten frame screws
Atlas MP-15DC
Figure 3.
www.digitrax.com
7 7 7 7 0 0 - - 4 4 4 4 1 1 - - 7 7 9 9 9 9 2 2
T T
7 7 7 7 0 0 - - 4 4 4 4 1 1 - - 0 0 7 7 5 5 9 9
F F
s s a a l l e e s s @ @ d d i i g g i i t t r r a a x x . . c c o o m m
E E
Surface mounted LEDs
on top!
motor clip retensioning
3
