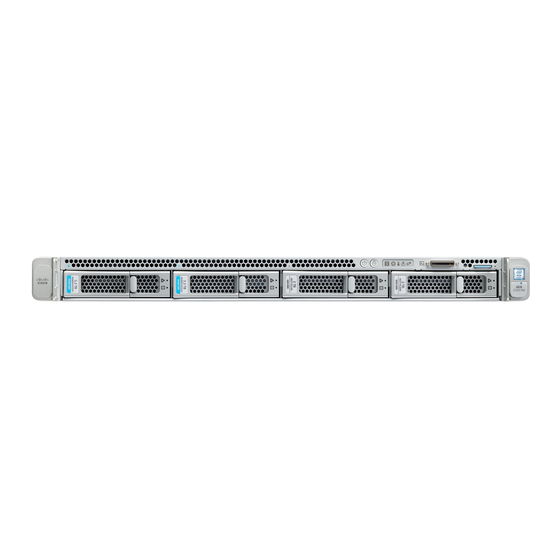
Cisco Expressway CE1200 Kurulum Kılavuzu - Sayfa 14
Ağ Geçidi Cisco Expressway CE1200 için çevrimiçi göz atın veya pdf Kurulum Kılavuzu indirin. Cisco Expressway CE1200 23 sayfaları.
Ayrıca Cisco Expressway CE1200 için: Cihaz Kurulum Kılavuzu (42 sayfalar)

Cisco Expressway CE1200 Appliance Installation Guide
Connect to the Expressway Console
Male RJ45 pin
8
2.
Start a terminal emulator program (for example PuTTY) on the PC and configure it to use the PC serial port as
follows:
baud rate: 115200 bits per second
—
data bits: 8
—
parity: none
—
stop bits: 1
—
flow control (hardware and software): none
—
3.
Once you are connected to the Expressway console, wait for the Install Wizard to appear and then go on to
the next section
Note:
Close the terminal emulator session after use. An open session may cause issues during system restarts.
Connecting Using CIMC Serial Over LAN
CIMC is the management interface for C-Series servers. It runs within the server to support remote administration,
configuration, and monitoring using web or SSH command line access. For detailed information, see the Cisco UCS
C-Series Integrated Management Controller Configuration Guides on the
CIMC password requirements
The CIMC default password must be changed to a strong password, as described in this section. If you use DHCP
addressing, you do this when you first log into the CIMC web interface. If you use static IP addresses, you change the
password during the initial boot process.
CIMC passwords must contain characters from three of the following four categories:
English uppercase letters A through Z
■
English lowercase letters a through z
■
Digits 0 through 9
■
These non-alphabetic characters: ! @ # $ % ^ & * - _ = "
■
Task 1: Configure the CIMC IP address and password (once only)
If you use DHCP addressing
Follow these steps if your deployment uses DHCP addressing:
1.
Connect your network to the CIMC/dedicated management port (port 5 in
2.
Connect the supplied KVM adapter (3-legged cable) to the console port at the front of the CE1200
Connect to the Expressway Console, page 13
3.
Connect a USB keyboard and VGA monitor to the KVM adaptor, and switch on the monitor.
4.
Configure your DHCP server to deliver the correct address for the CIMC. For the MAC address, use the MGMT
address on the pullout tab.
5.
Switch on the CE1200.
6.
Watch the boot process on the monitor.
Female DB9 pin
7
Run the Install Wizard, page
17.
CIMC Configuration Guides
14
page.
Rear Panel Layout, page
9).
