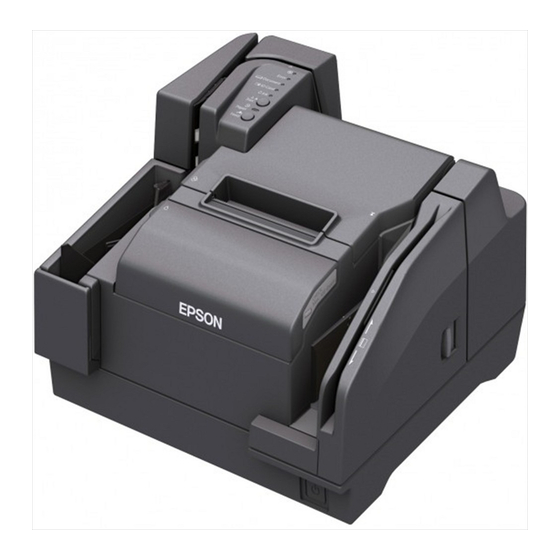
Epson TM-S9000MJ Kullanıcı Kılavuzu - Sayfa 19
Tarayıcı Epson TM-S9000MJ için çevrimiçi göz atın veya pdf Kullanıcı Kılavuzu indirin. Epson TM-S9000MJ 25 sayfaları.
Ayrıca Epson TM-S9000MJ için: Kurulum Kılavuzu (2 sayfalar), Kurulum Kılavuzu (2 sayfalar), Buradan başlayın (2 sayfalar)

Troubleshooting
Error LED is on or flashing
❏
Make sure that all the covers are properly closed.
❏
Make sure the roll paper is properly set.
❏
When the Ink LED is on, see "Installing and Replacing the Ink Cartridge" on page 11 to
replace the ink cartridge with a new one.
❏
When the roll paper cover will not open, the autocutter blade may be locked. For a minor
lock, the autocutter blade automatically returns to the correct position. Otherwise, move
it to the correct position referring to "The roll paper cover will not open (the autocutter
blade is locked)."
❏
When paper or an ID card is jammed, remove the jammed paper referring to "Paper or
ID card is jammed."
❏
Printing stops if the thermal head or the surroundings of the print head overheats, and
resumes automatically when it cools.
❏
Turn off the product, and after 10 seconds, back on. If the Error LED is still flashing, the
product may require servicing.
Printout is faint
❏
When printing on cut sheet paper is faint, the print head may be dirty. See "Cleaning the
Print Head" on page 16 to clean the print head.
❏
When printing on roll paper is faint, the thermal head may be dirty. See "Cleaning the
Thermal Head" on page 17 to clean the thermal head.
Scanned data or reading result of the magnetic ink characters is not normal
❏
When the scanned data is not normal, the glass of scanner may be dirty. See "Cleaning the
Scanner" on page 17 to cleaning the glass of scanner.
❏
When the magnetic ink characters cannot be read normally, the MICR head may be dirty.
See "Cleaning the MICR Head" on page 17 to clean the MICR head.
The roll paper cover will not open (the autocutter blade is locked)
Follow the steps below to return the autocutter blade to the correct position.
1.
Turn off the product.
2.
Put your finger under the left side of the ink cartridge cover and pull it up to open it.
19
