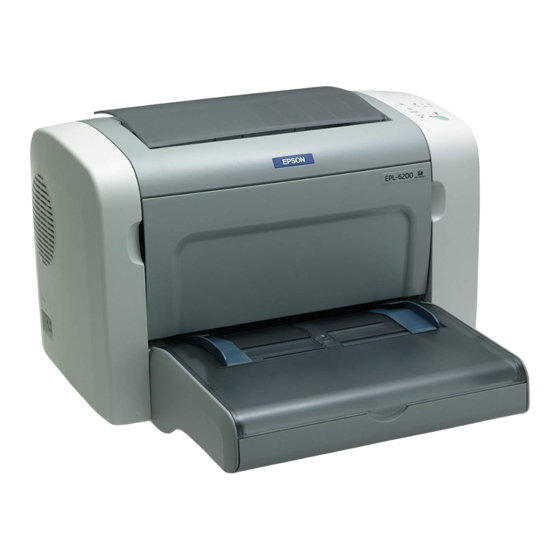
Epson EPL-6200 Kurulum
Yazıcı Aksesuarları Epson EPL-6200 için çevrimiçi göz atın veya pdf Kurulum indirin. Epson EPL-6200 2 sayfaları. Monochrome laser printer
Ayrıca Epson EPL-6200 için: Kurulum Kılavuzu (12 sayfalar), Teknik Özellikler (2 sayfalar)

Laser Printer
Setup
Note:
The illustrations used in this document show the EPL-6200 model. Specific illustrations of the EPL-6200L model are provided only when the differences between the two models result in different handling of the product during
the setup process.
The printer is shipped with the developer cartridge and the photoconductor unit preinstalled.
Assembling the Printer
Removing the Protective Materials
EPL-6200
EPL-6200L
Testing and Connecting the Printer
Plugging in the Printer
1
Make sure the printer is turned off.
Loading Paper (EPL-6200)
1
Remove the MP tray cover, and then carefully
insert the tray into the printer until it clicks into
place.
3
Set A4 or Letter paper into the tray with the
printable side facing up, and then slide the
paper guide inwards to match the size of the
paper.
Loading Paper (EPL-6200L)
1
Open the MP tray.
4044766-00
F04
2
Insert the power cord into the back of the
printer. Then plug the other end into an
electrical outlet.
2
Pinch the paper guide tab to release the guide
lock, then slide the paper guide outwards as
shown below.
4
Replace the MP tray cover, and then life up the
output tray.
2
Pinch the paper guide tab to release the guide
lock, then slide the paper guide outwards as
shown below.
Warnings, Cautions and Notes
w
Warnings
must be followed
c
Cautions
carefully to avoid bodily
to avoid damage to your
injury.
equipment.
Finding a Place for the Printer
Allow adequate space for easy operation and maintenance.
The illustration shows the recommended amount of space.
Place the printer where you can easily unplug the power cord.
Keep the entire computer and printer system away from potential sources of interference, such as
loudspeakers or the base units of cordless telephones.
c
Caution:
Avoid locations that are subject to
direct sunlight, excessive heat,
moisture, or dust.
Do not place the printer on a
surface that is smaller than the
printer's bottom panel. Doing so
may cause printing and feeding
problems due to the internal load
of the printer. Be sure to locate the
printer on a flat, wide surface
where the rubber pads can be
placed stably.
3
Set A4 or Letter paper into the tray with the
printable side facing up, and then slide the
paper guide inwards to match the size of the
paper.
Testing the Printer (EPL-6200 only)
To confirm the current status of the printer, print a status sheet. The status sheet contains information about
the printer, the consumables, the current settings, and the installed options, if any.
1
Turn on the printer. Wait until the Ready
light turns green.
If a status sheet cannot be printed, see "Problem Solver" in the Reference Guide. For information on how to
access the online Reference Guide, see "Getting More Information" below.
Connecting the Printer to a Computer
Use a shielded, USB Revision 1.1 cable, or twisted-pair parallel interface cable that is IEEE-1284 compatible.
1
Make sure that both the printer and the computer are off.
2
Attach the USB or parallel interface cable to the printer. Plug the other end of the cable into the
computer's USB or parallel interface connector.
For USB interface users
(EPL-6200)
(EPL-6200L)
must be observed
Notes
contain important
information and useful tips on
the operation of your printer.
300 mm
556 mm
100 mm
150 mm
100 mm
150 mm
706 mm
4
Lift up the output tray.
2
Press the button shown in the figure below.
For parallel interface users
(EPL-6200)
(EPL-6200L)
