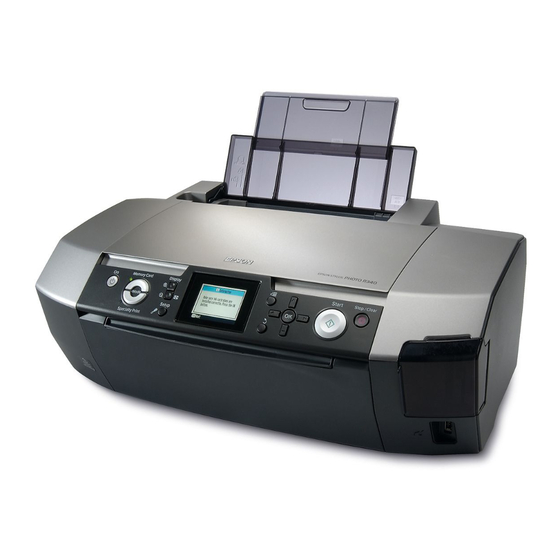
Epson R340 - Stylus Photo Color Inkjet Printer Temel Kullanım Kılavuzu - Sayfa 24
Yazıcı Aksesuarları Epson R340 - Stylus Photo Color Inkjet Printer için çevrimiçi göz atın veya pdf Temel Kullanım Kılavuzu indirin. Epson R340 - Stylus Photo Color Inkjet Printer 40 sayfaları. C11c607011
Ayrıca Epson R340 - Stylus Photo Color Inkjet Printer için: Teknik Özellikler (2 sayfalar), Manuel (13 sayfalar), Buradan Başlayın Kılavuzu (9 sayfalar), Hızlı Referans (4 sayfalar), Eğitim Kılavuzu (4 sayfalar)

3.
Remove the new ink cartridge from the package.
c
Caution:
❏ Be careful not to break the hooks on the side of the ink
cartridge when you remove it from the package.
❏ Do not remove or tear the label on the cartridge; otherwise,
ink will leak.
❏ Do not touch the green IC chip on the front of the cartridge.
This can damage the ink cartridge.
✽ Do not touch this part.
❏ Be sure to always install an ink cartridge into the printer
immediately following the removal of the current ink
cartridge. If the ink cartridge is not installed promptly, the
print head may dry out, rendering it unable to print.
4.
Open the cartridge cover.
5.
Pinch the sides of the ink cartridge that you want
to replace. Lift the cartridge out of the printer and
dispose of it properly. Do not take the used
cartridge apart or try to refill it.
The illustration
shows
replacement of
the black ink
cartridge.
6.
Place the ink cartridge vertically into the cartridge
holder. Then, push the ink cartridge down until it
clicks into place.
24
Replacing Ink Cartridges
7.
When you have finished replacing the cartridge,
close the cartridge cover and the printer cover.
8.
Press the OK button. The print head will move and
charging of the ink delivery system will begin.
When the ink charging process is finished, the
print head will return to its home position.
c
Caution:
Never turn off the power supply to the printer before the
completion message is displayed. Doing so can result in
incomplete charging of ink.
9.
When the message "Ink cartridge replacement is
complete" is displayed on the LCD panel, press
the OK button.
Note:
If the ink end error occurs after the print head moves to its home
position, the ink cartridge may not be installed properly. Press
the OK button again, and reinstall the ink cartridge until it clicks
into place.
