Epson Stylus PHOTO 1290 Kurulum Kılavuzu - Sayfa 9
Yazıcı Aksesuarları Epson Stylus PHOTO 1290 için çevrimiçi göz atın veya pdf Kurulum Kılavuzu indirin. Epson Stylus PHOTO 1290 17 sayfaları. Color inkjet printer
Ayrıca Epson Stylus PHOTO 1290 için: Broşür ve Teknik Özellikler (24 sayfalar), Teknik Özellikler (3 sayfalar), Kartuşların Değiştirilmesi (2 sayfalar), Kurulum Talimatları Kılavuzu (8 sayfalar), Kurulum Kılavuzu (18 sayfalar)
1.
Choose Chooser from the Apple
menu. Then, select the icon for your
printer and the port that your
printer is connected to.
2.
Select the appropriate
Background Printing radio button
to turn background printing on or
off.
When background printing is on,
you can use your Macintosh while it is preparing a document for
printing. In order to use the EPSON Monitor3 utility to manage print
jobs, background printing must be turned on.
3.
Close the Chooser.
Installing EPSON PhotoQuicker
1.
After setup is complete, the installer dialog box appears again. Double-
click the EPSON PhotoQuicker, then double-click the Installer icon
inside it.
2.
The installer dialog box appears. Click Install.
3.
When a message appears informing you that installation is complete,
click Quit.
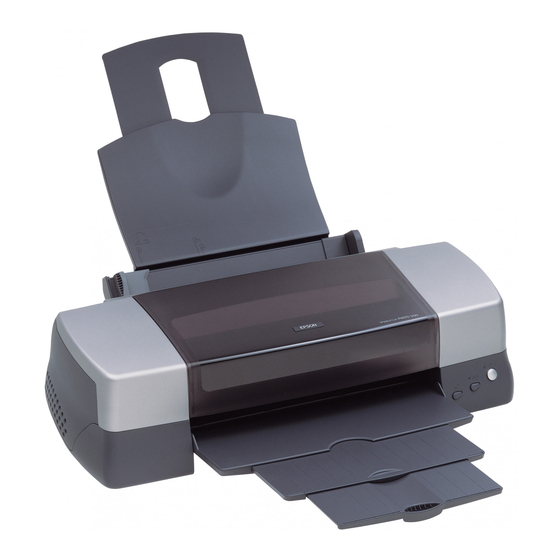
Installing the Ink Cartridges
This printer uses ink cartridges equipped with IC chips. The IC chip
accurately monitors the amount of ink used by each cartridge, so even if a
cartridge is removed and inserted again, all of its ink can be used. However,
some ink from both color and black ink cartridges is consumed each time a
cartridge is inserted because the printer automatically checks reliability.
Be sure to use the ink cartridges packed with your printer the first time that
you install ink cartridges.
Refer to the appropriate section.